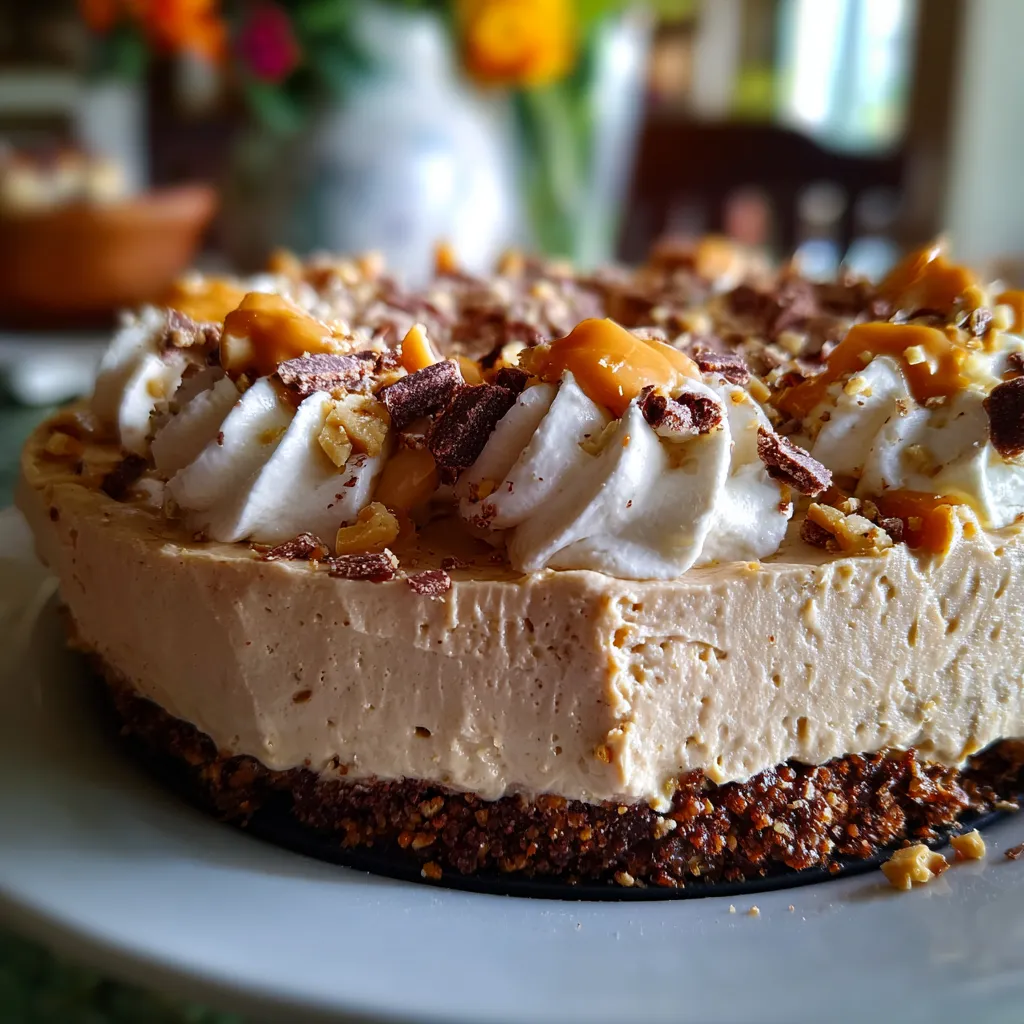
I’m excited to share my take on the no bake peanut butter pie. This dessert has become my go-to when I want something creamy, rich, and fast to make. It’s perfect for those days when you want a sweet treat without firing up the oven. The best part? The pie comes together with simple ingredients that you probably already have. No fancy baking skills needed.
What makes this no bake peanut butter pie stand out is its silky smooth filling that balances peanut butter’s saltiness with just enough sweetness. I love how the crust adds a bit of crunch without overpowering the filling. Over time, I’ve tweaked the recipe to get the texture just right—light but dense enough to hold its shape. You’ll find that it’s a dessert that feels indulgent yet surprisingly easy.
If you’re curious about how to make your own no bake peanut butter pie for a family dinner, party, or just to satisfy a sweet tooth, I’ve got your back. It’s one of those recipes you’ll want to keep coming back to, partly because it doesn’t take much effort but tastes like you spent hours on it.
Ingredients for No Bake Peanut Butter Pie
Getting your ingredients right is key, especially for a no bake pie where each element shines on its own. Here’s what you’ll need:
- 1 ½ cups of finely crushed graham crackers (about 12 full crackers crushed)
- 6 tablespoons of unsalted butter, melted
- 1 cup creamy peanut butter (natural or classic, but smooth works best)
- 8 ounces cream cheese, softened (medium firmness for easy mixing)
- 1 cup powdered sugar, sifted to avoid lumps
- 1 ½ cups heavy whipping cream, cold
- 1 teaspoon vanilla extract (pure if possible for best flavor)
- Optional: chopped peanuts or chocolate shavings for topping (about ¼ cup)
Make sure to soften the cream cheese at room temperature for about 30 minutes before starting. It’ll blend smoothly without lumps. Also, crushing the graham crackers finely will help the crust stick well in your pie tin. If you want a thicker crust, you can use a bit more graham crackers and butter.
No Bake Peanut Butter Pie
Make a No Bake Peanut Butter Pie with 3 simple ingredients and satisfy your sweet tooth quickly and easily
- Prep Time: 20 minutes
- Cook Time: 0 minutes
- Total Time: 4 hours 20 minutes
- Yield: 8 servings
- Category: Dessert
- Cuisine: American
Ingredients
- 1 ½ cups finely crushed graham crackers (about 12 full crackers crushed)
- 6 tablespoons unsalted butter, melted
- 1 cup creamy peanut butter (natural or classic, smooth works best)
- 8 ounces cream cheese, softened
- 1 cup powdered sugar, sifted
- 1 ½ cups heavy whipping cream, cold
- 1 teaspoon vanilla extract (pure if possible)
- Optional: ¼ cup chopped peanuts or chocolate shavings for topping
Instructions
- Mix crushed graham crackers and melted butter in a bowl. Press firmly into a 9-inch pie plate to form the crust. Refrigerate to firm up.
- Beat softened cream cheese and peanut butter together until smooth using an electric mixer or whisk.
- Add powdered sugar and vanilla extract to the peanut butter mixture and beat until fully combined and silky.
- Whip cold heavy cream in a separate chilled bowl until stiff peaks form.
- Gently fold whipped cream into the peanut butter mixture until light and smooth.
- Pour filling into the chilled graham cracker crust and smooth the top.
- Refrigerate the pie for at least 4 hours or overnight to set the filling.
- Before serving, optionally sprinkle chopped peanuts or chocolate shavings on top.
How to Prepare No Bake Peanut Butter Pie
Let me walk you through making this no bake peanut butter pie step-by-step. I know sometimes no bake desserts sound simple but still get tricky, so I’ll break it down clearly.
- Start by mixing your crushed graham crackers and melted butter in a bowl. Press this mixture firmly into a 9-inch pie plate to form the crust. Use the bottom of a glass to pack it down evenly. Place it in the fridge while you work on the filling—this helps it firm up.
- In a large bowl, beat the softened cream cheese and peanut butter together until smooth with an electric mixer or sturdy whisk. This can take a few minutes to get that creamy texture without lumps.
- Add the powdered sugar and vanilla extract to the peanut butter mixture and beat again until everything is fully combined and silky.
- In a separate chilled bowl, whip the heavy cream until stiff peaks form. It’s important that the cream is cold so it whips nicely—warm cream can turn into butter or won’t hold its shape.
- Gently fold the whipped cream into the peanut butter mixture using a spatula. Use a light hand here to keep the mixture airy and smooth. This folding step is what makes the filling velvety and light.
- Pour the filling into the chilled graham cracker crust. Spread it out evenly and smooth the top with a spatula.
- Refrigerate the pie for at least 4 hours or overnight. This resting time is crucial because it lets the filling set up properly so it slices cleanly instead of being runny.
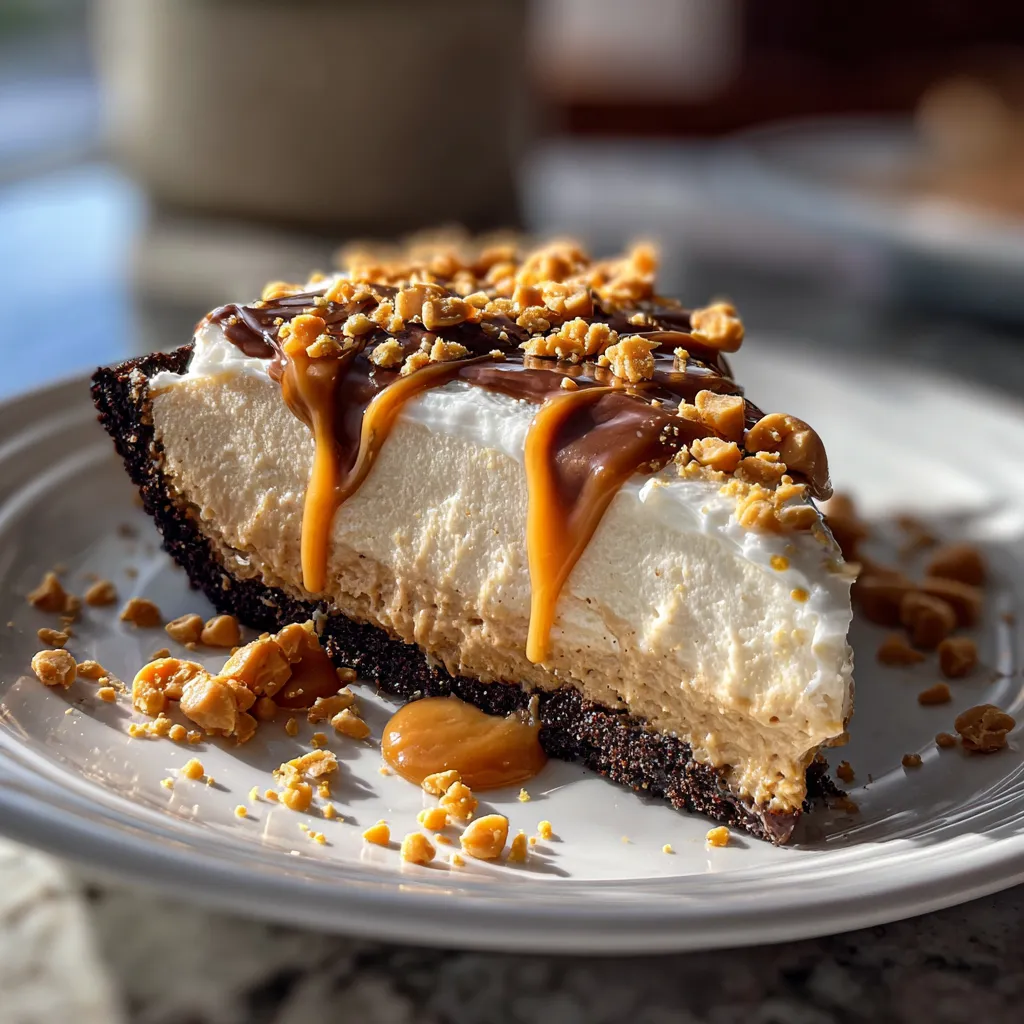
- Before serving, you can sprinkle chopped peanuts or a few chocolate shavings over the top for a nice texture contrast.
I’ve found that if you skip the chilling, the pie tends to be too soft and messy to serve. So be patient with that step if you want neat slices. Also, once chilled, if the pie sits out for too long, it can soften again because of the whipped cream—plan your serving time accordingly.
Tips for Success with No Bake Peanut Butter Pie
Making no bake peanut butter pie is mostly foolproof, but here are some handy tips that helped me nail it every time I make it.
- Use room temperature cream cheese: Cold cream cheese clumps up and makes the filling lumpy.
- Beat thoroughly: Give the peanut butter and cream cheese enough time to mix fully for a really smooth base.
- Whip cream properly: Watch carefully so you don’t over-whip or under-whip. You want stiff peaks, but not butter.
- Fold gently: Mixing the whipped cream in slowly keeps the filling airy.
- Chill well: This pie needs a few hours at least or overnight to firm up.
- Crust packing: Press the crust firmly but don’t crush down too much—you want it compact enough to hold but still crumbly and light.
When I first tried this recipe, I poured the filling right into the crust and didn’t chill it long enough. The slices fell apart. Lesson learned! Since then, sticking to these tips made my pie sharable and presentable every time.

Ingredient Notes and Substitutions
I get a lot of questions about swapping ingredients or tweaking this no bake peanut butter pie. Here’s what I’ve tried and what works well:
- Peanut Butter: Creamy works best since chunky affects texture. Natural peanut butter can be used, but it may change the flavor slightly and thicken the filling. If you want, you can reduce the powdered sugar by a bit to balance sweetness.
- Graham Crackers: If you can’t find graham crackers, digestive biscuits or similar sweet plain cookies make a good substitute for the crust.
- Butter: I recommend unsalted to control salt better, but salted butter is fine if you adjust sweetness to taste.
- Heavy Cream: Don’t swap this with half-and-half or milk because it won’t whip properly. For dairy-free options, use coconut cream chilled, but expect some flavor changes.
- Cream Cheese: Full fat gives the best texture. Low-fat versions may make the filling less creamy and more watery.
For extra flavor, you can add a pinch of cinnamon or even a few drops of almond extract—but those are optional twists, not must-haves. This recipe’s simplicity is part of its charm.
Estimated Nutritional Information for No Bake Peanut Butter Pie
Here’s an estimate of what one slice (1/8th of the pie) contains. Keep in mind, this varies based on exact ingredients and brands:
- Calories: 450-500
- Total Fat: 35g
- Saturated Fat: 12g
- Protein: 7g
- Carbohydrates: 35g
- Sugar: 22g
- Fiber: 1-2g
This pie is rich and meant to be enjoyed in smaller portions, especially since it has dense fats and sugars from the peanut butter, cream cheese, and whipping cream. Balancing it with fresh fruit or a light salad can work well if you want something alongside.
Frequently Asked Questions about No Bake Peanut Butter Pie
Can I make this pie ahead of time?
Yes! In fact, making it the day before lets the flavors blend and the filling set perfectly. Just cover it tightly with plastic wrap and keep it refrigerated up to 2 days before serving.
What if I don’t have an electric mixer?
You can mix the cream cheese and peanut butter by hand with a strong whisk and a good arm workout. Whipping the cream by hand takes longer but is possible—just watch for stiff peaks carefully and use a chilled bowl.
How do I prevent the crust from getting soggy?
Pressing the crust firmly and chilling it before adding the filling helps. Also, try to keep the pie refrigerated until serving to maintain crust texture.
Can I use crunchy peanut butter for texture?
You can, but it will change the smooth texture of the filling. If you enjoy that little crunch, go for it! Just expect a slightly different mouthfeel.
Is there a way to make this pie vegan?
For a vegan version, substitute cream cheese with a dairy-free option, use coconut cream instead of heavy cream, and find a vegan butter alternative. Keep in mind, texture and taste will vary.