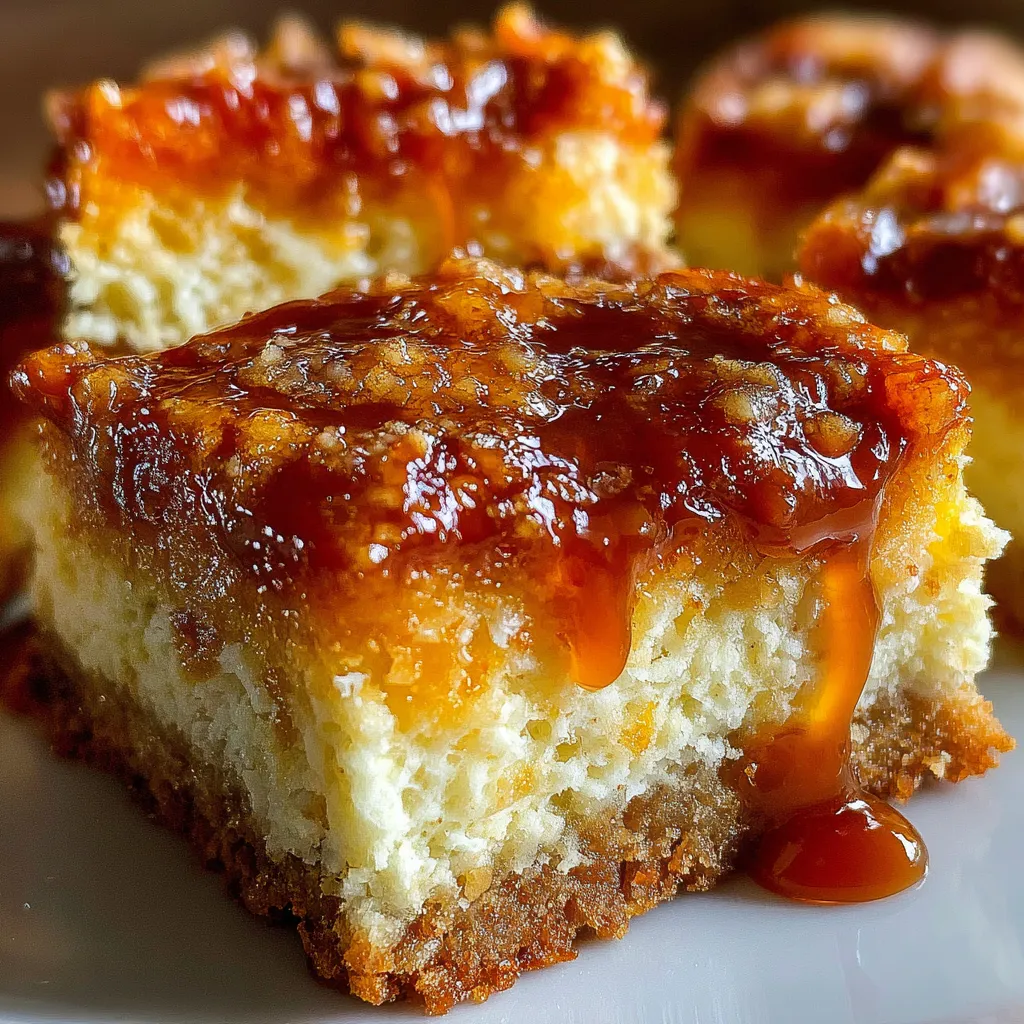
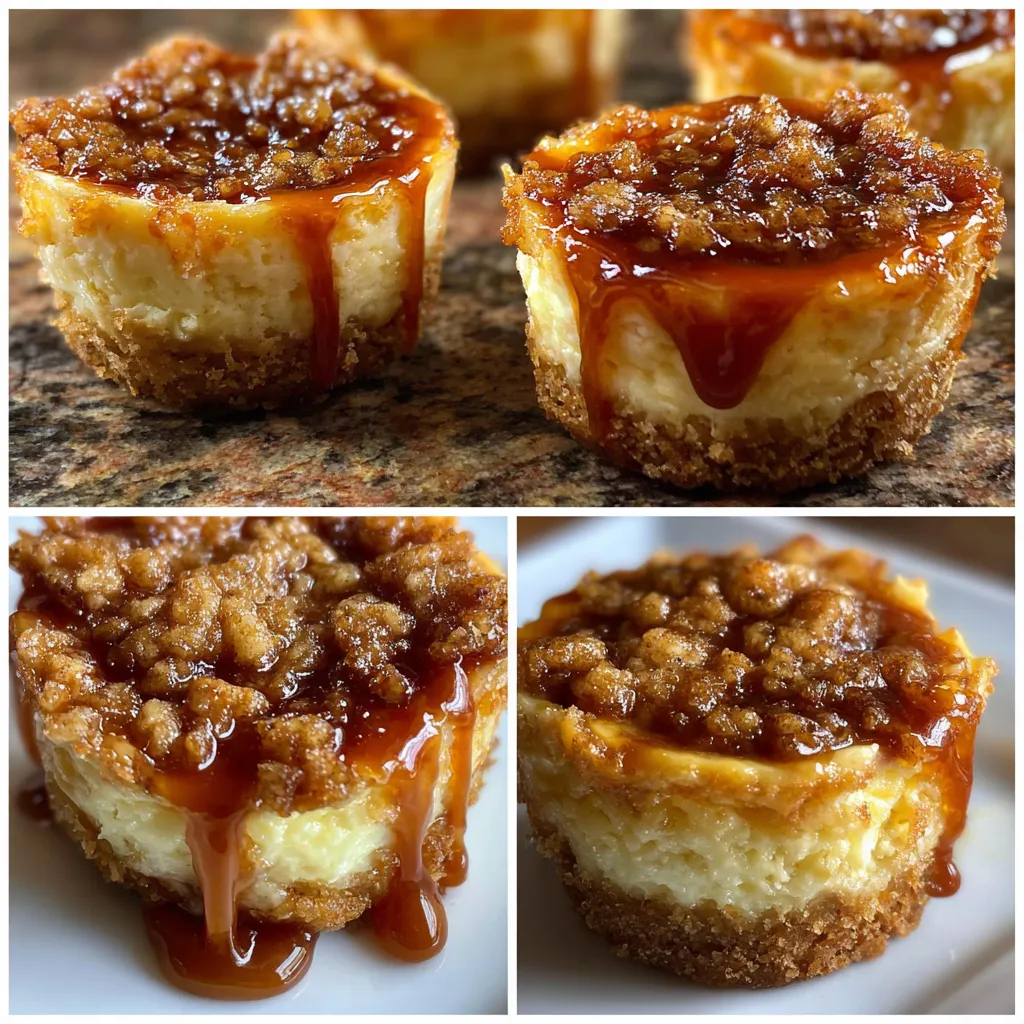
These Easy Apple Crisp Mini Cheesecakes combine the best of two beloved desserts—apple crisp and cheesecake—into one delightful treat. They’re the perfect size for sharing (or not!), and they come together faster than you’d expect. You get creamy cheesecake topped with sweet, cinnamon-spiced apples and a crunchy oat crumble. I’ve been making this recipe for years, and it’s always a crowd-pleaser whenever fall rolls around. Trust me, once you try these, you’ll be hooked.
Let me walk you through everything you need to know to make sure your Easy Apple Crisp Mini Cheesecakes come out perfect every single time. No heading needs to be written for the introduction.
Ingredients for Easy Apple Crisp Mini Cheesecakes
Getting your ingredients right is the first step to nailing these mini cheesecakes. I like to keep the list simple but clear to avoid any confusion while you’re prepping. Here’s what you’ll need:
- Crust: 1 1/2 cups graham cracker crumbs (about 12 full sheets, crushed finely), 1/4 cup granulated sugar, 6 tablespoons unsalted butter (melted)
- Filling: 16 ounces cream cheese (softened), 1/2 cup granulated sugar, 2 large eggs, 1 teaspoon vanilla extract, 1/2 cup sour cream
- Apple topping: 2 medium apples (peeled, cored, and diced into small, 1/4-inch pieces), 1/4 cup packed brown sugar (light or dark), 1 teaspoon ground cinnamon, 1 tablespoon lemon juice
- Crisp topping: 1/2 cup old-fashioned oats, 1/4 cup all-purpose flour, 1/4 cup packed brown sugar, 1/4 teaspoon salt, 1/4 cup unsalted butter (cold and diced)
Make sure your apples are diced evenly—that helps them cook perfectly on top without becoming soggy or uneven. Using large eggs is best here to keep the filling smooth and consistent. Also, soften the cream cheese well by leaving it out for about 30 minutes before mixing. It makes all the difference in your batter’s texture.
PrintEasy Apple Crisp Mini Cheesecakes

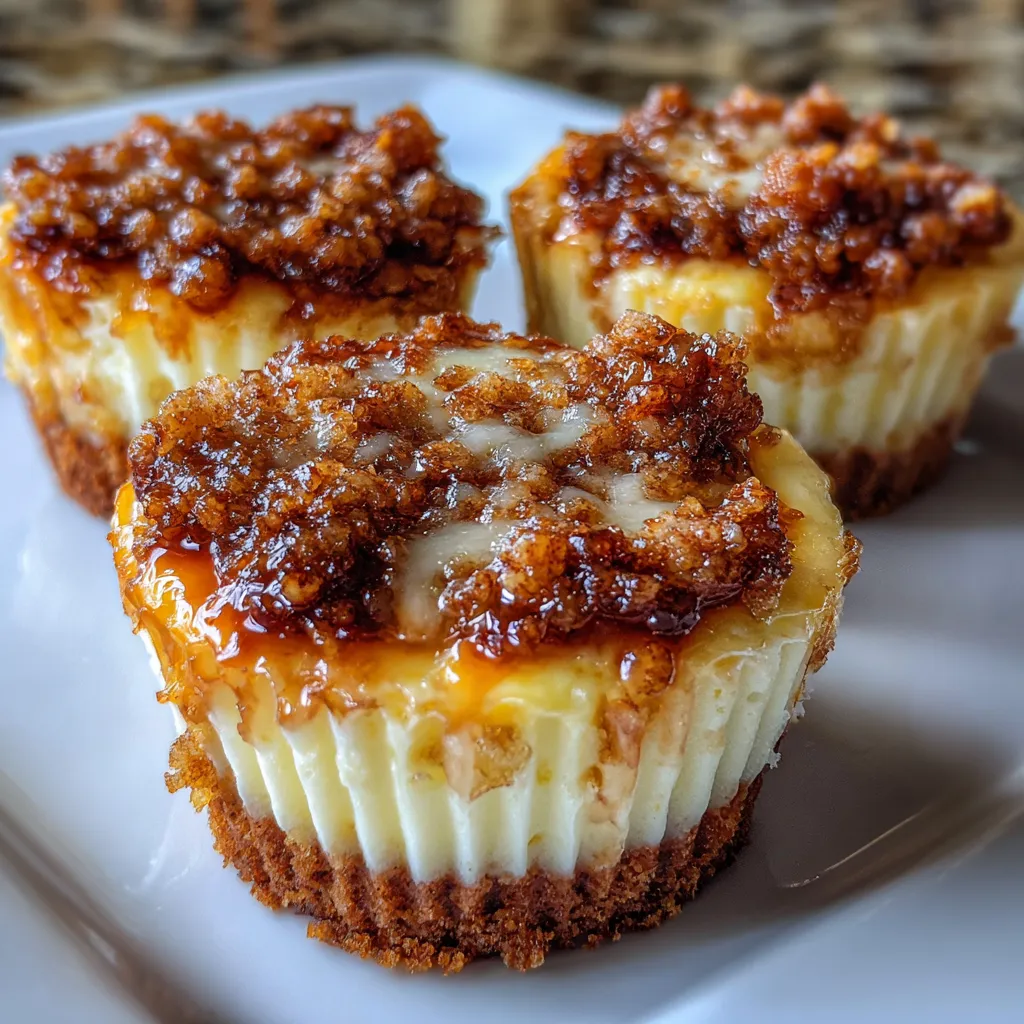
Enjoy Easy Apple Crisp Mini Cheesecakes with 5 layers of creamy crunchy and fruity goodness that satisfy your sweet tooth perfectly
- Prep Time: 20 minutes
- cool and chill: 4 hours 0 minutes
- Cook Time: 25 minutes
- Total Time: 4 hours 45 minutes
- Yield: 12 mini cheesecakes
- Category: Dessert
- Cuisine: American
Ingredients
- 1 1/2 cups graham cracker crumbs (about 12 full sheets, crushed finely)
- 1/4 cup granulated sugar (for crust)
- 6 tablespoons unsalted butter (melted)
- 16 ounces cream cheese (softened)
- 1/2 cup granulated sugar (for filling)
- 2 large eggs
- 1 teaspoon vanilla extract
- 1/2 cup sour cream
- 2 medium apples (peeled, cored, and diced into small, 1/4-inch pieces)
- 1/4 cup packed brown sugar (light or dark)
- 1 teaspoon ground cinnamon
- 1 tablespoon lemon juice
- 1/2 cup old-fashioned oats
- 1/4 cup all-purpose flour
- 1/4 cup packed brown sugar (for crisp topping)
- 1/4 teaspoon salt
- 1/4 cup unsalted butter (cold and diced)
Instructions
- Prepare the crust: Preheat the oven to 325°F (160°C). Mix graham cracker crumbs with sugar and melted butter until the mixture resembles damp sand. Press about 2 tablespoons firmly into the bottom of each cup in a 12-cup muffin pan lined with paper liners or greased well. Set aside.
- Make the filling: Beat softened cream cheese with sugar until creamy and smooth. Add eggs one at a time, blending well after each. Stir in vanilla extract and sour cream until just combined. Avoid overmixing.
- Cook the apples: Toss diced apples with lemon juice, brown sugar, and cinnamon in a medium saucepan. Cook over medium heat for 5 to 7 minutes, stirring until apples soften slightly but hold their shape. Remove from heat and let cool.
- Make the crisp topping: Combine oats, flour, brown sugar, and salt in a bowl. Cut in cold diced butter using a fork or pastry cutter until mixture is clumpy like coarse crumbs.
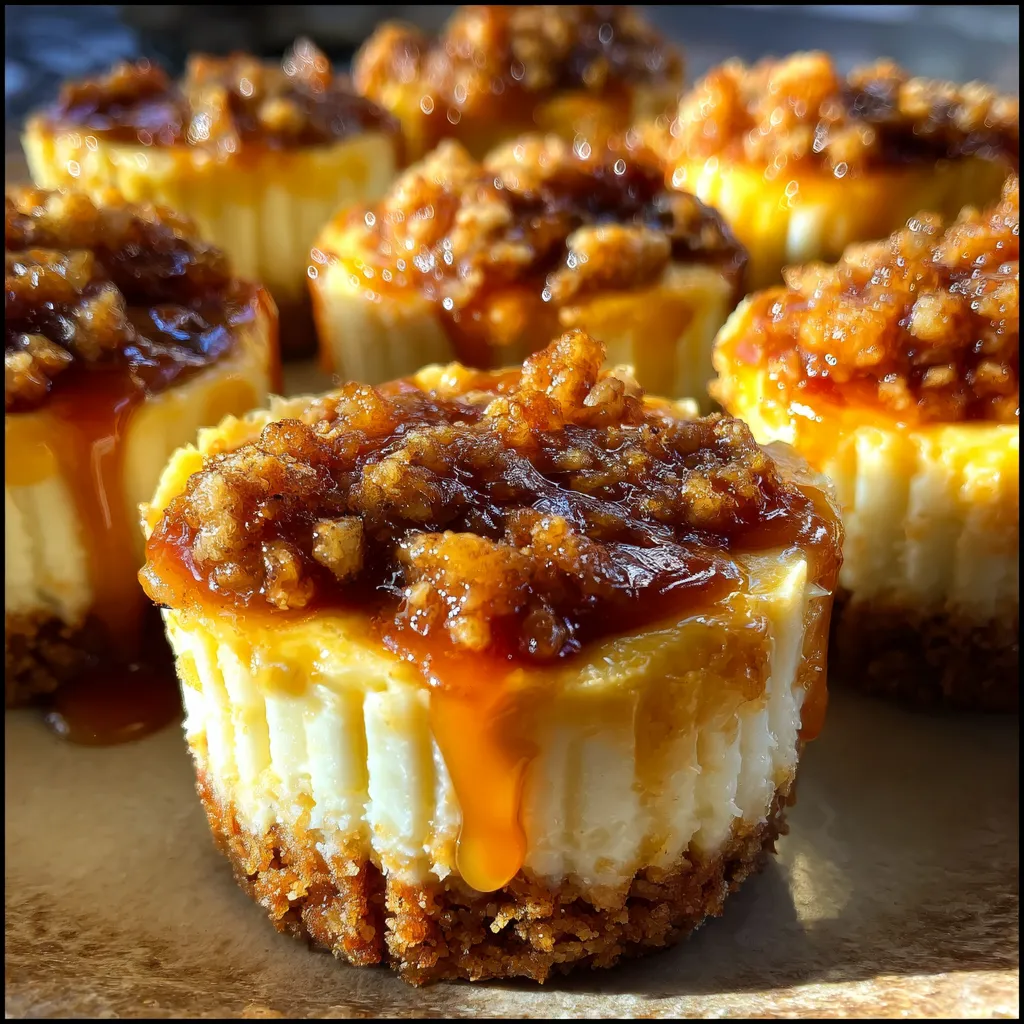
- Assemble your cheesecakes: Pour about 2 tablespoons of cream cheese filling into each crust-lined cup. Spoon about 1 tablespoon of cooked apple mixture on top, then sprinkle evenly with the oat crisp topping.
- Bake: Bake at 325°F (160°C) for 20 to 25 minutes, or until edges are set but centers still slightly jiggle for creamy texture.
- Cool and chill: Let cheesecakes cool in the pan for 15 minutes, transfer to a wire rack and cool completely, then refrigerate for at least 3 hours or overnight.
How to Prepare Easy Apple Crisp Mini Cheesecakes
Follow these steps carefully for delicious, well-structured mini cheesecakes your family and guests will love. Take your time, especially when layering and baking.
- Prepare the crust: Preheat the oven to 325°F (160°C). Mix graham cracker crumbs with sugar and melted butter until everything feels like damp sand. Press about 2 tablespoons firmly into the bottom of each cup in a 12-cup muffin pan lined with paper liners or greased well. Set aside.
- Make the filling: Beat softened cream cheese with sugar until creamy and smooth (use a hand mixer or stand mixer on medium speed). Add eggs one at a time, blending well after each. Stir in vanilla extract and sour cream until just combined. Be careful not to overmix—that keeps the filling silky.
- Cook the apples: In a medium saucepan, toss apples with lemon juice, brown sugar, and cinnamon. Cook over medium heat for 5–7 minutes, stirring often until the apples soften slightly but still hold their shape. Remove from heat and let cool.
- Make the crisp topping: Combine oats, flour, brown sugar, and salt in a bowl. Cut in cold butter using a fork or pastry cutter until the mixture is clumpy, resembling coarse crumbs.
- Assemble your cheesecakes: Pour about 2 tablespoons of cream cheese filling into each crust-lined cup. Spoon a small layer (about 1 tablespoon) of the cooked apple mixture on top of the filling. Sprinkle evenly with the oat crisp topping to cover the apples.
- Bake: Bake at 325°F (160°C) for 20–25 minutes, or until the edges are set but the centers still have a slight jiggle. This keeps them creamy, not dry.
- Cool and chill: Let the cheesecakes cool in the pan for 15 minutes, then transfer to a wire rack and cool completely before refrigerating for at least 3 hours or overnight. Chilling helps the flavors meld and the cheesecake firm up perfectly.
I like to prepare these ahead when I have guests coming over. The chilling step really deepens the flavor, and the oat topping stays delightfully crisp after baking once cooled. Plus, it makes your kitchen smell like autumn heaven.
Why You’ll Love This Recipe for Easy Apple Crisp Mini Cheesecakes
- Quick and simple to make with pantry-friendly ingredients
- Perfectly sized for portion control or sharing at parties
- Combines creamy cheesecake with the warm spice of apple crisp
- Can be made ahead and stored well in the fridge
- Fun to customize with different apple varieties or toppings
Personally, I’m all about small desserts you can grab without mess. These mini cheesecakes hit the spot every time—they taste fancy but actually feel super casual. You can even swap apples for pears or add a drizzle of caramel sauce if you want to get fancy.
Equipment You’ll Need
- 12-cup muffin pan
- Muffin liners or grease for the pan
- Mixing bowls
- Electric mixer (hand or stand)
- Medium saucepan
- Measuring cups and spoons
- Wire rack for cooling
Tips for Success with Easy Apple Crisp Mini Cheesecakes
- Avoid overmixing the filling: Mix just until smooth; over-mixing traps air, causing cracks during baking.
- Resist the urge to overbake: Slight jiggle in the center means perfect creaminess once chilled.
- Use fresh, firm apples: Granny Smith or Honeycrisp work great—they keep shape and add lovely tartness.
- Chill thoroughly: This really improves texture and flavor development.
- Line your muffin pans: Clean removal is easier with liners or grease, preventing messy breakage.
Storage and Reheating Instructions
Store your mini cheesecakes in an airtight container in the fridge for up to 4 days. You can reheat them briefly in a microwave, about 15-20 seconds, but I recommend enjoying them chilled for the best texture. If you want to freeze them, place them on a baking sheet until solid, then transfer to a freezer-safe container. Thaw overnight in the fridge before serving. Don’t skip the chilling step—it really makes a difference.

Frequently Asked Questions About Easy Apple Crisp Mini Cheesecakes
Can I use different types of apples for these cheesecakes?
Yes, you can swap in your favorite apples. Firm, tart varieties like Granny Smith or Honeycrisp work best because they hold their shape when cooked. Softer apples may turn mushy and affect texture.
How long can I store these Easy Apple Crisp Mini Cheesecakes?
They keep well in the fridge for up to 4 days. If you want to keep them longer, freezing is an option too. Just remember to thaw them overnight before eating.
Is it possible to make these cheesecakes dairy-free or vegan?
There are dairy-free creams and vegan cream cheeses you can try, but the texture might be a bit different. Experimenting might be needed to get the right firmness, but it’s definitely doable if you have the right substitutes.
Can I prepare these mini cheesecakes ahead of time?
Absolutely. I often make the whole thing a day ahead. They taste even better once chilled overnight, letting the flavors fully meld together.
What’s the best way to prevent the cheesecakes from cracking?
Don’t overmix the batter or overbake. Keep an eye on the edges during baking, and when the centers still have a slight jiggle, take them out. Let them cool gradually, and refrigerate overnight for best results.