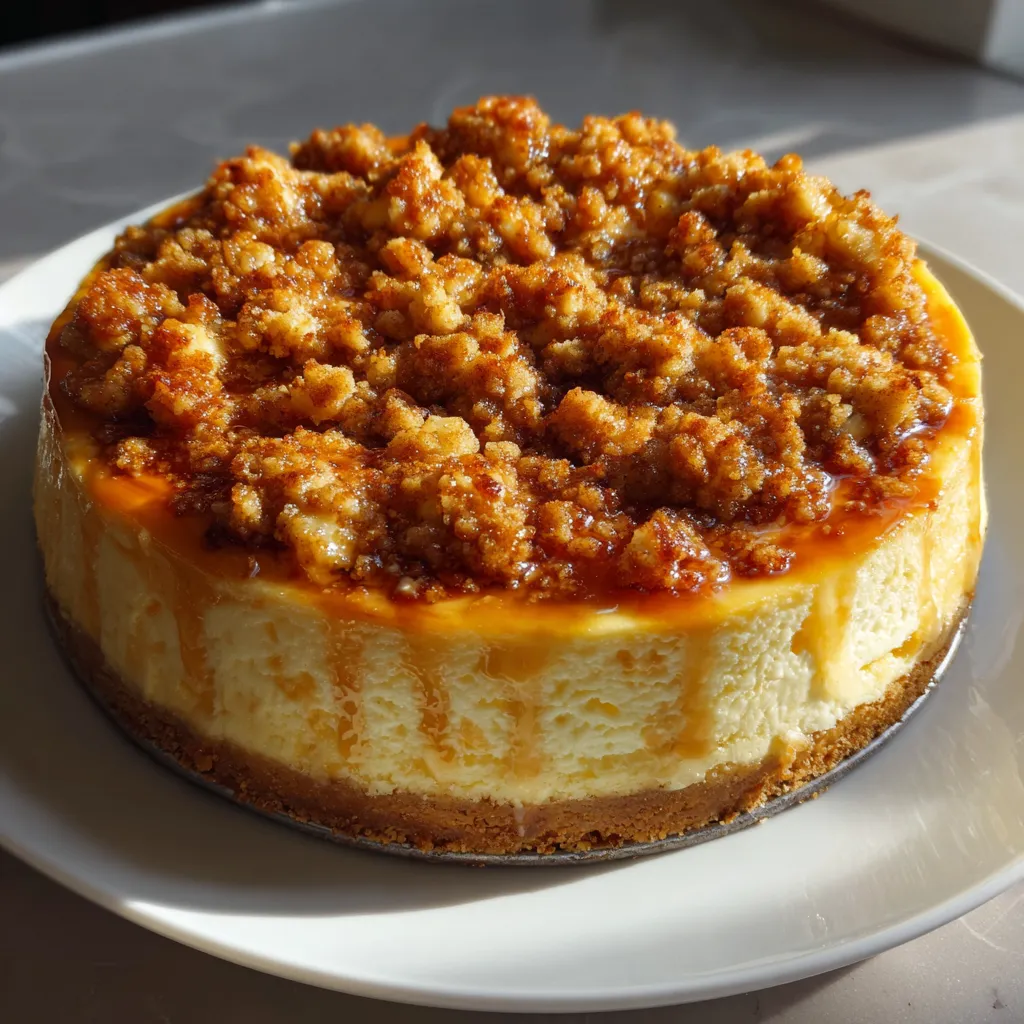
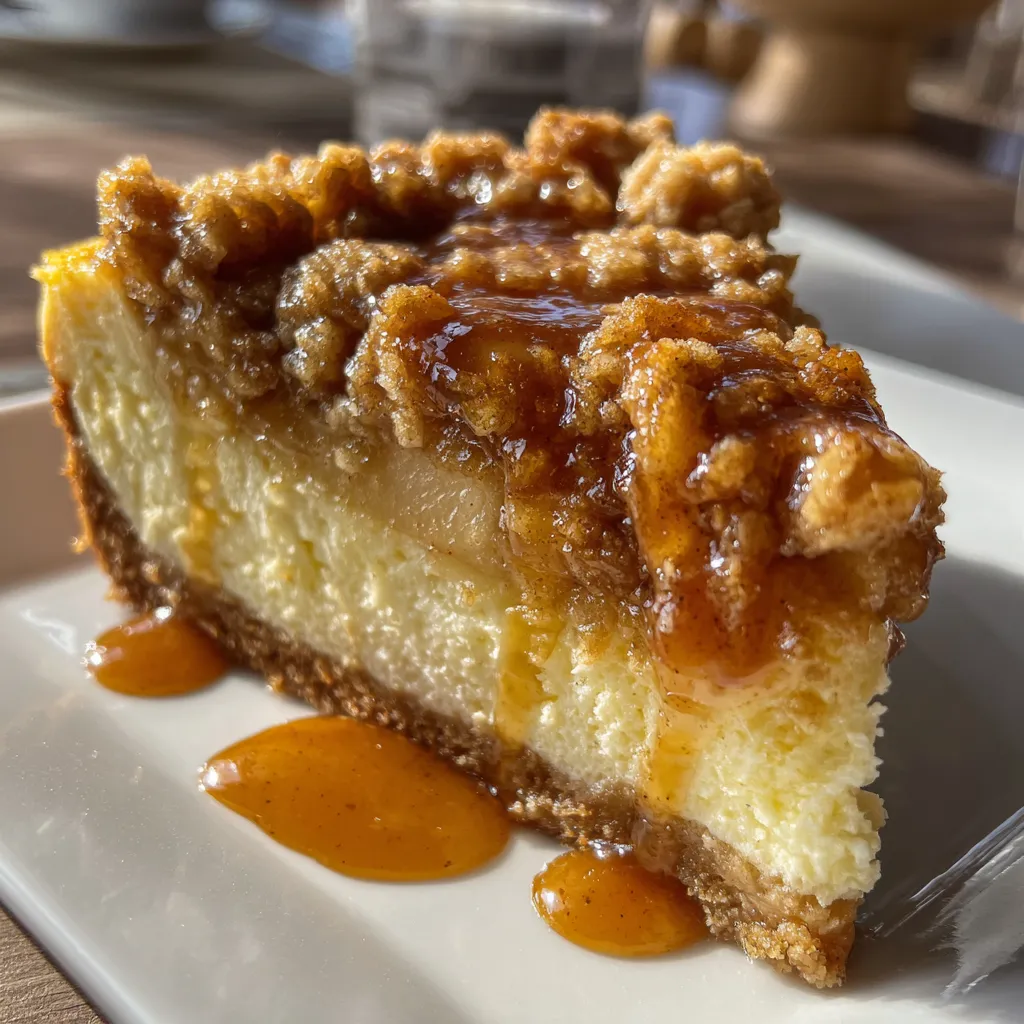
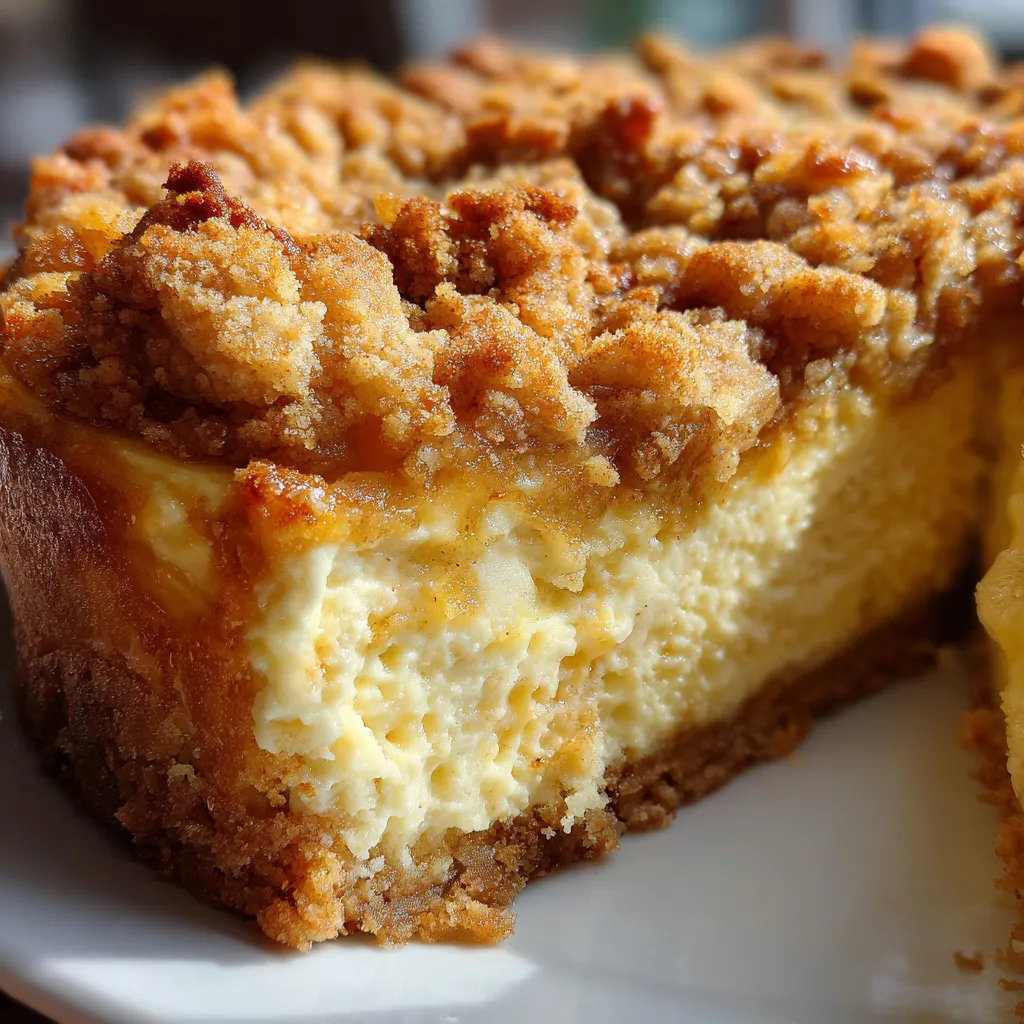
I’ve always been a sucker for desserts that blend textures and flavors in the most satisfying way. This Apple Crumble Cheesecake hits all the right spots—creamy, tangy cheesecake with a crisp, buttery apple crumble on top. It’s basically two desserts in one, coming together in a beautiful, cozy harmony. My first time making it, I knew I’d found a new favorite to bring to holiday dinners or whenever I’m craving something that feels like home.
This recipe has a fantastic balance of tart apples and smooth cheesecake, wrapped in the crunchy crumble topping. Trust me, once you taste it, you’ll want to keep this Apple Crumble Cheesecake on your regular rotation. No heading needs to be written for the introduction.
Apple Crumble Cheesecake Ingredients
Getting the ingredients right is key for this Apple Crumble Cheesecake. Here’s exactly what you’ll need, with clear descriptions to avoid any guesswork:
- 1 1/2 cups graham cracker crumbs (finely crushed)
- 1/4 cup granulated sugar
- 6 tablespoons unsalted butter, melted
- 24 ounces cream cheese, softened (about 3 packages)
- 3/4 cup granulated sugar
- 3 large eggs, at room temperature
- 1 teaspoon vanilla extract
- 2 large apples (preferably Granny Smith or Honeycrisp), peeled, cored, and diced into 1/2-inch pieces
- 1/2 cup packed brown sugar
- 1 teaspoon ground cinnamon
- 1/4 teaspoon ground nutmeg
- 1 tablespoon all-purpose flour (to toss with the apples)
- For the crumble topping:
- 3/4 cup all-purpose flour
- 1/3 cup rolled oats
- 1/3 cup packed brown sugar
- 1/2 teaspoon ground cinnamon
- 6 tablespoons unsalted butter, cold and cut into small cubes
Those apples should be diced into uniform sizes so they cook evenly and give you that perfect texture between creamy and crunchy. Make sure your cream cheese is truly softened—that’ll make mixing smooth with no lumps. The crumble topping needs cold butter, cut into bits, to get that perfect crisp texture baked on top.
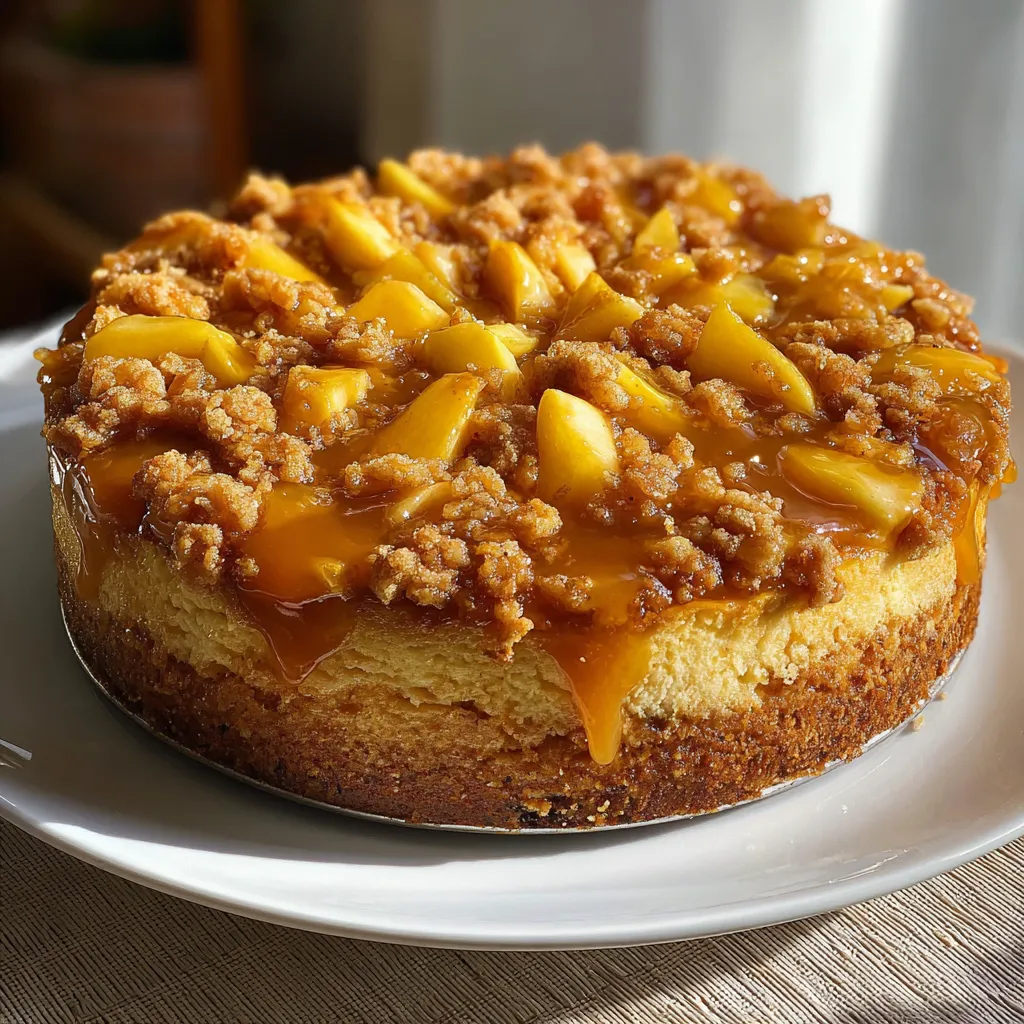
Apple Crumble Cheesecake

Apple Crumble Cheesecake recipe with 5 layers of rich flavor that satisfy your sweet tooth and make every bite unforgettable
- Prep Time: 30 minutes
- Cook Time: 1 hour 10 minutes
- Total Time: 5 hours 40 minutes
- Yield: 12 servings
- Category: Dessert
- Cuisine: American
Ingredients
- 1 1/2 cups graham cracker crumbs (finely crushed)
- 1/4 cup granulated sugar
- 6 tablespoons unsalted butter, melted
- 24 ounces cream cheese, softened (about 3 packages)
- 3/4 cup granulated sugar
- 3 large eggs, at room temperature
- 1 teaspoon vanilla extract
- 2 large apples (preferably Granny Smith or Honeycrisp), peeled, cored, and diced into 1/2-inch pieces
- 1/2 cup packed brown sugar
- 1 teaspoon ground cinnamon
- 1/4 teaspoon ground nutmeg
- 1 tablespoon all-purpose flour (to toss with the apples)
- 3/4 cup all-purpose flour
- 1/3 cup rolled oats
- 1/3 cup packed brown sugar
- 1/2 teaspoon ground cinnamon
- 6 tablespoons unsalted butter, cold and cut into small cubes
Instructions
- Prepare the crust: Mix graham cracker crumbs with sugar and melted butter until well combined. Press this mixture firmly into the bottom of a 9-inch springform pan. Use the bottom of a glass to smooth it out evenly. Chill while you prepare the filling.
- Apple filling: Toss diced apples with brown sugar, cinnamon, nutmeg, and 1 tablespoon flour. Set aside to let the flavors meld, about 10 minutes.
- Make the crumble topping: In a bowl, mix flour, oats, brown sugar, and cinnamon. Cut in the cold butter with your fingers or a pastry cutter until the mixture resembles coarse crumbs. Keep this in the fridge until ready to use.
- Cheesecake filling: Beat the cream cheese and sugar with an electric mixer until smooth and creamy. Add eggs one at a time, mixing well after each addition. Stir in vanilla extract.
- Assemble the cheesecake: Pour half the cheesecake batter over the chilled crust. Spread the apple mixture evenly on top, then pour the remaining batter over the apples carefully to keep the layers distinct.
- Add the crumble: Sprinkle the chilled crumble topping evenly over everything to create a golden, crisp layer after baking.
- Bake: Place the pan on a baking sheet and bake at 325°F (163°C) for 60-70 minutes. The edges should be set, but the center will have a slight jiggle. Avoid overbaking to keep the cheesecake creamy.
- Cool: Let the cheesecake cool at room temperature for 1 hour, then chill in the fridge for at least 4 hours or overnight before serving.
How to Prepare Apple Crumble Cheesecake
This is my go-to step-by-step guide. I break everything down clearly, so it’s easy to follow even if you’re juggling it all in a busy kitchen.
- Prepare the crust: Mix graham cracker crumbs with sugar and melted butter until well combined. Press this mixture firmly into the bottom of a 9-inch springform pan. Use the bottom of a glass to smooth it out evenly. Chill while you prepare the filling.
- Apple filling: Toss diced apples with brown sugar, cinnamon, nutmeg, and 1 tablespoon flour. Set aside to let the flavors meld, about 10 minutes.
- Make the crumble topping: In a bowl, mix flour, oats, brown sugar, and cinnamon. Cut in the cold butter with your fingers or a pastry cutter until the mixture resembles coarse crumbs. Keep this in the fridge until ready to use.
- Cheesecake filling: Beat the cream cheese and sugar with an electric mixer until smooth and creamy. Add eggs one at a time, mixing well after each addition. Stir in vanilla extract.
- Assemble the cheesecake: Pour half the cheesecake batter over the chilled crust. Spread the apple mixture evenly on top, then pour the remaining batter over the apples carefully. You want to cover the apples but keep the layers distinct.
- Add the crumble: Sprinkle the chilled crumble topping evenly over everything. This will create that golden, crisp layer after baking.
- Bake: Place the pan on a baking sheet and bake at 325°F (163°C) for 60-70 minutes. The edges should be set, but the center will have a slight jiggle. Avoid overbaking—this keeps the cheesecake creamy.
- Cool: Let the cheesecake cool at room temperature for 1 hour, then chill in the fridge for at least 4 hours or overnight before serving. This resting period lets the flavors settle and makes slicing easier.
If your crumble starts browning too fast, tent the cheesecake loosely with foil halfway through baking. That little step keeps things perfectly golden, not burnt. Oh, and remember not to run the electric mixer too fast when adding the eggs—slow and steady avoids unwanted air bubbles.
Tips for Making the Perfect Apple Crumble Cheesecake
This recipe has become my go-to dessert, but I’ve learned some tricks along the way that really make a difference:
- Room temperature cream cheese and eggs: These blend smoother, which prevents lumps in your batter.
- Choose the right apples: Tart apples like Granny Smith bring good balance against the sweet crumble and creamy cheese.
- Don’t skip chilling: Both the crust and the topping do better when cold going into the oven, giving you that much-needed crunch.
- Use a springform pan: It’s the easiest way to get the cheesecake out without damaging the crust.
- Slice cleanly: Let your cheesecake warm slightly at room temperature before cutting to avoid cracking edges.
These simple tweaks really elevate your Apple Crumble Cheesecake and make the process smoother. I always double-check my apples before dicing—they need to be firm but ripe.
Storage and Reheating Instructions
After all that effort, you want to make sure your Apple Crumble Cheesecake keeps well and tastes just as good the next day.
- Storage: Cover your cheesecake tightly with plastic wrap or transfer to an airtight container. Keep it refrigerated.
- How long: It stays fresh for up to 4 days in the fridge.
- Freezing: You can freeze slices wrapped securely in foil and placed in a freezer bag. Freeze for up to 2 months.
- Reheating: Let frozen cheesecake thaw in the fridge overnight. If you prefer it a bit warm, slice and microwave each piece for 15-20 seconds. The crumble topping softens, so if you want crispiness back, a quick 5-minute heat in a toaster oven works well.
Personally, I’m a big fan of serving this cheesecake chilled, but warming it lightly during colder months is pure comfort food heaven.
Nutritional Information Disclaimer
The nutritional values for this Apple Crumble Cheesecake can vary depending on the brands of ingredients you use and the portion sizes. This article does not provide precise nutritional data. For accurate information, please consider using a nutrition calculator with your specific brands and measurements.
Frequently Asked Questions
Can I use other types of apples in this Apple Crumble Cheesecake?
Yes, you can. While Granny Smith or Honeycrisp apples are ideal for their tartness and firmness, sweet varieties like Fuji or Gala work well too. Just keep in mind that sweeter apples may make the filling less tangy, so adjust sugar levels if needed.
Do I need a special pan for this cheesecake?
A 9-inch springform pan is the best choice because it lets you remove the cheesecake easily without damaging the crust or crumble topping. If you don’t have one, make sure to line your baking pan with parchment paper and be very careful when removing the cheesecake from the pan.
Can I prepare this Apple Crumble Cheesecake ahead of time?
Absolutely. The cheesecake actually tastes better after chilling overnight. Just make sure to store it covered in the refrigerator and slice it just before serving.
What’s the best way to dice apples for the filling?
Cut your peeled apples into roughly 1/2-inch cubes. The size ensures they cook evenly in the cheesecake without turning mushy, and they hold up well between the dense cheesecake and crunchy crumble.