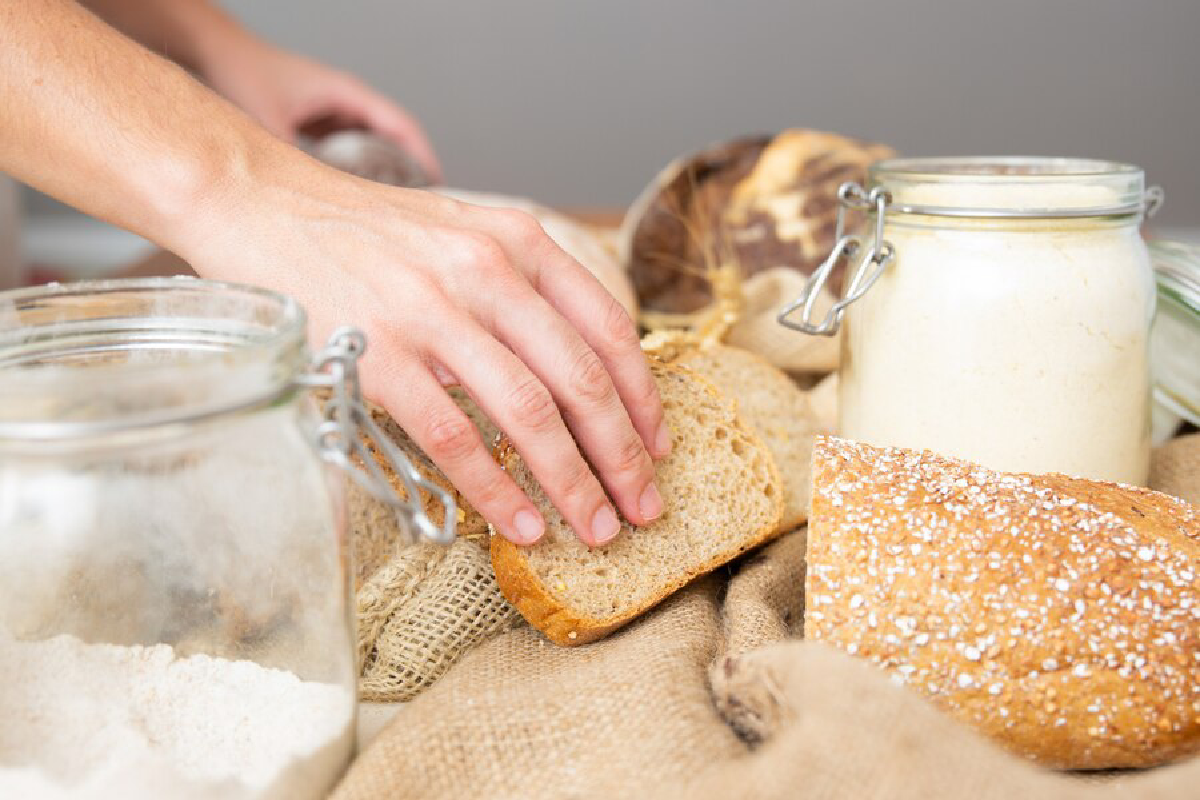
Embark on the rewarding journey of making your own sourdough bread with this simple Sourdough Starter recipe. Creating a sourdough starter from scratch is a fascinating process that requires just flour, water, and a bit of patience. This natural leavening agent will become the heart of your sourdough baking, allowing you to bake bread that’s not only delicious but also has a unique flavor and texture. Let’s get started on this adventure in bread making!
Ingredients:
1 cup (120g) all-purpose flour
1/2 cup (120ml) lukewarm water
Directions:
Day 1: Start the Mixture
In a glass or plastic container, mix together the flour and lukewarm water until well combined. The mixture should have the consistency of a thick batter.
Cover the container loosely with a cloth or plastic wrap (with small holes poked in it) to allow air to circulate while keeping dust and insects out.
Place the container in a warm spot with a consistent temperature, ideally between 68°F (20°C) and 75°F (24°C).
Day 2-5: Feed the Starter
Each day, you will “feed” the starter to help it grow and develop. Remove about half of the starter (discard it or use it for other recipes), and add 1/2 cup (60g) of flour and 1/4 cup (60ml) of lukewarm water to the remaining mixture. Stir well to incorporate.
After a few days, you should start to see bubbles forming, indicating that fermentation is occurring. The mixture will also begin to have a slightly sour, tangy aroma.
Day 6 & Beyond: Maintain the Starter
Continue feeding the starter daily if kept at room temperature, or move it to the refrigerator for less frequent feedings (once a week). A mature starter will rise predictably, doubling or tripling in volume between feedings.
When you’re ready to bake, take the starter out of the fridge, let it come to room temperature, and feed it to “wake it up” from its dormant state.
Baking with Your Starter
To use the starter for baking, always ensure you leave enough starter to continue the feeding process. This way, you’ll have a perpetual source of sourdough starter for all your baking needs.
Tips:
The “discard” from feedings can be used in a variety of recipes, like pancakes, waffles, or any recipe calling for a sourdough starter.
If your starter develops any colored molds or an unpleasant smell, it’s best to discard it and start over.
Patience is key! Developing a strong, active starter can take time, but it’s well worth the effort for the delicious bread you’ll be able to bake.
Prep Time: 10 minutes per day
Total Time: 5+ days
Creating your own sourdough starter is a simple yet deeply satisfying process. It connects you to the age-old tradition of bread making and opens the door to baking sourdough breads with complex flavors and amazing textures. Happy baking!

