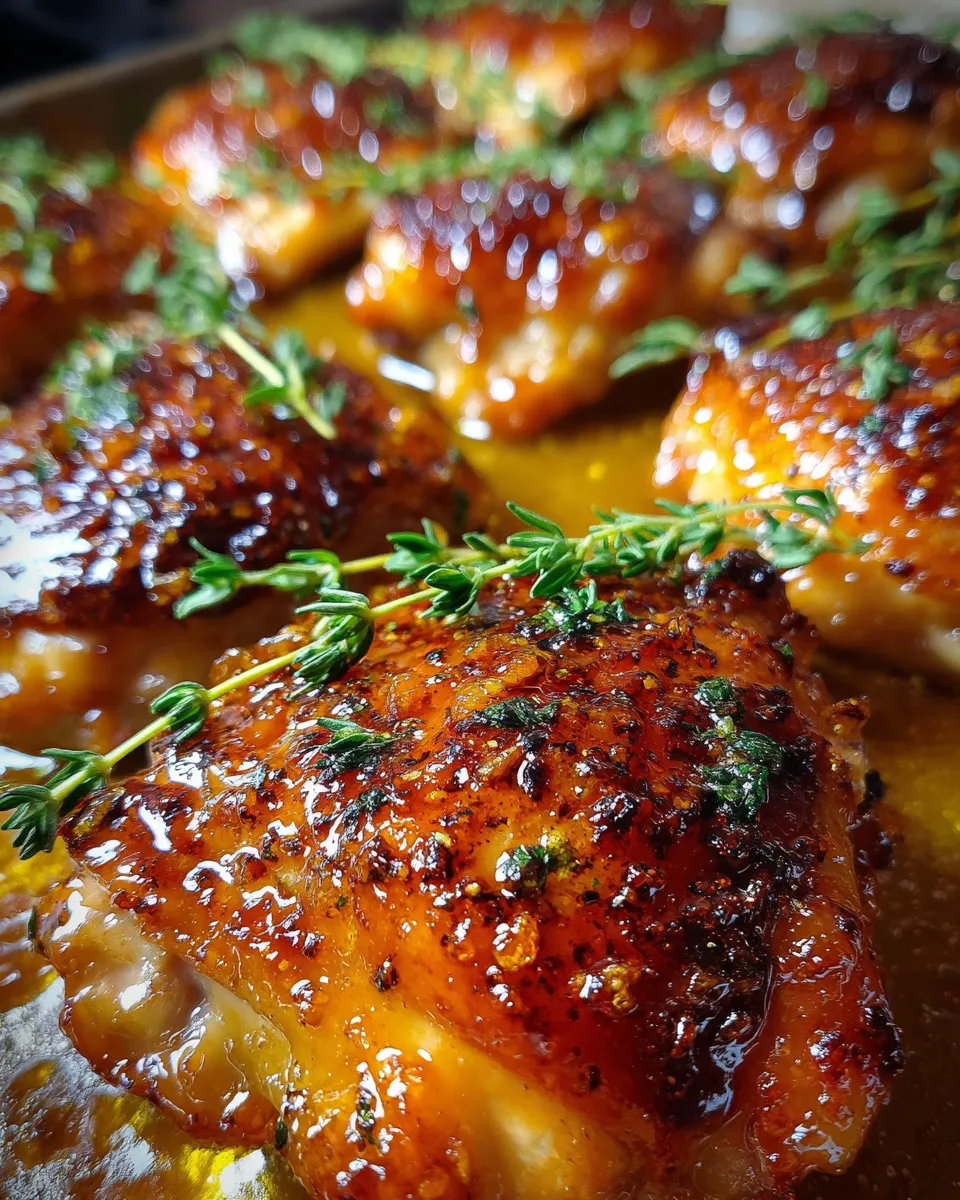
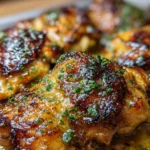
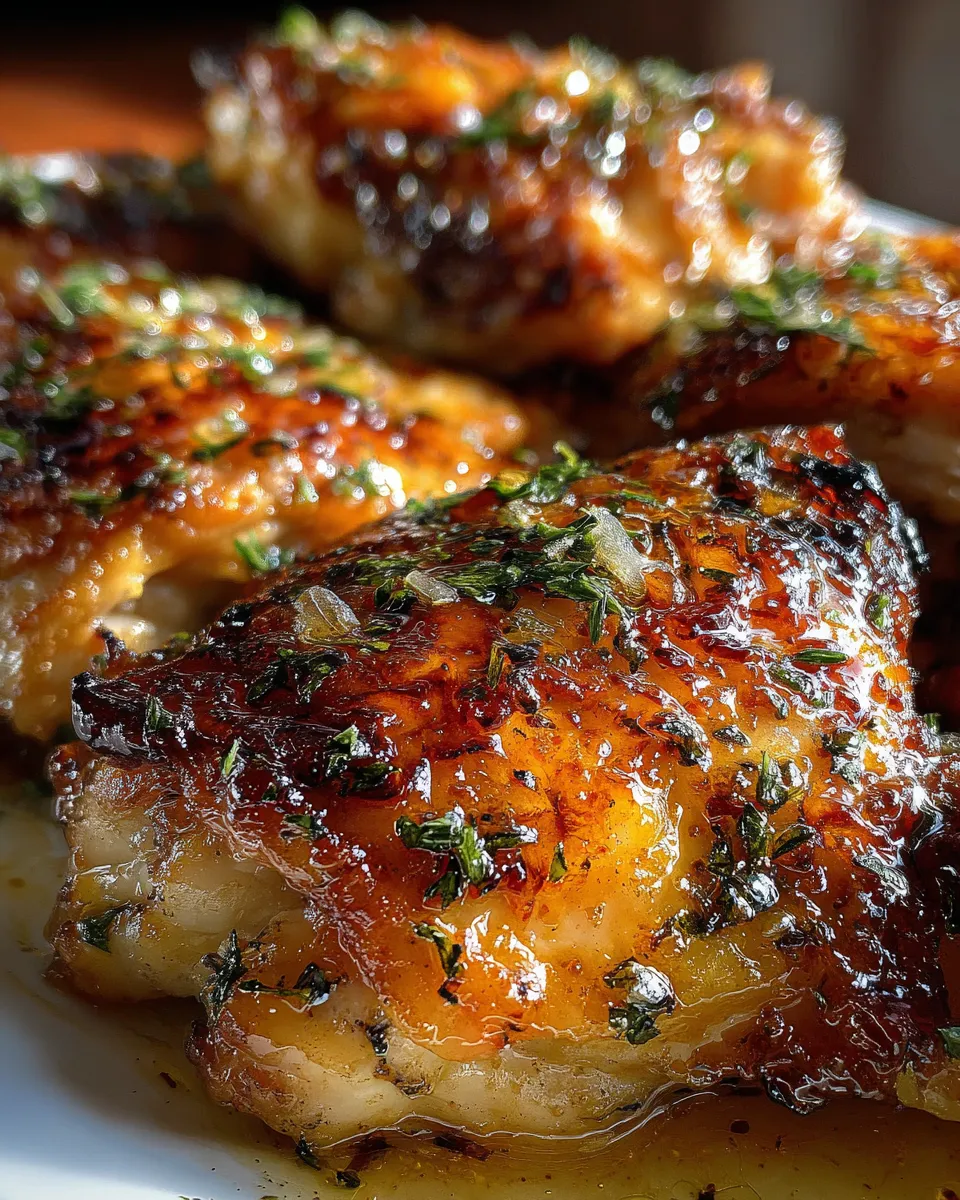
Sheet pan maple glazed chicken thighs have quickly become one of my favorite weeknight dinners. There’s something just right about the way maple syrup caramelizes on chicken skin in the oven, giving it that perfect balance of sweet and savory. The beauty of cooking this on a sheet pan is how hands-off it is—you get a flavorful, saucy dinner with minimal cleanup.
I’ve been making this recipe for years, starting from a simple idea of mixing maple syrup with a few spices, and I’m thrilled to share my tips and tricks to help you get tender, juicy thighs every time. Let me guide you through the ingredients, preparation, and best ways to serve this dish so you can impress your family with a straightforward recipe that tastes like you’ve been cooking all day.
Ingredients for Sheet Pan Maple Glazed Chicken Thighs
Getting your ingredients right is the foundation of this recipe. I always recommend using fresh, high-quality chicken thighs with skin on—they crisp up beautifully and hold the glaze well.
- 6 bone-in, skin-on chicken thighs (about 1.5 to 2 pounds total)
- 1/4 cup pure maple syrup (not pancake syrup, real maple syrup adds depth)
- 2 tablespoons Dijon mustard (for a slight tang that balances the sweetness)
- 1 tablespoon soy sauce (adds umami and saltiness)
- 2 cloves garlic, minced (freshly minced works best)
- 1/2 teaspoon ground black pepper (freshly ground if possible)
- 1/2 teaspoon smoked paprika (optional but adds a smoky dimension)
- 1 tablespoon olive oil (to help everything meld and crisp)
- Salt to taste (about 1 teaspoon, or adjust to preference)
Sheet Pan Maple Glazed Chicken Thighs Recipe
Sheet Pan Maple Glazed Chicken Thighs Recipe brings easy juicy flavorful meals your family will love in just one pan
- Prep Time: 15 minutes
- Cook Time: 30 minutes
- Total Time: 45 minutes
- Yield: 6 servings
- Category: Dinner
- Cuisine: American
Ingredients
- 6 bone-in, skin-on chicken thighs (about 1.5 to 2 pounds total)
- 1/4 cup pure maple syrup
- 2 tablespoons Dijon mustard
- 1 tablespoon soy sauce
- 2 cloves garlic, minced
- 1/2 teaspoon ground black pepper
- 1/2 teaspoon smoked paprika (optional)
- 1 tablespoon olive oil
- 1 teaspoon salt (or to taste)
Instructions
- Preheat your oven to 425°F (220°C). A hot oven crisps the skin and caramelizes the glaze nicely.
- Prepare the maple glaze: In a medium bowl, whisk together maple syrup, Dijon mustard, soy sauce, minced garlic, black pepper, smoked paprika, and olive oil until smooth.
- Season the chicken thighs: Pat the chicken dry with paper towels. Sprinkle salt evenly over both sides.
- Coat the chicken: Place chicken thighs in the bowl with the glaze. Thoroughly coat each piece with the glaze. Let rest at room temperature for 10-15 minutes.
- Arrange the chicken on a rimmed sheet pan, skin side up, spaced out to avoid crowding.
- Bake uncovered for 25-30 minutes. About halfway through cooking, baste chicken with pan juices.
- Optional: Broil for 2-3 minutes at the end for extra crispiness, watching closely to avoid burning.
- Let the chicken rest for 5 minutes before serving to redistribute juices.
Notes
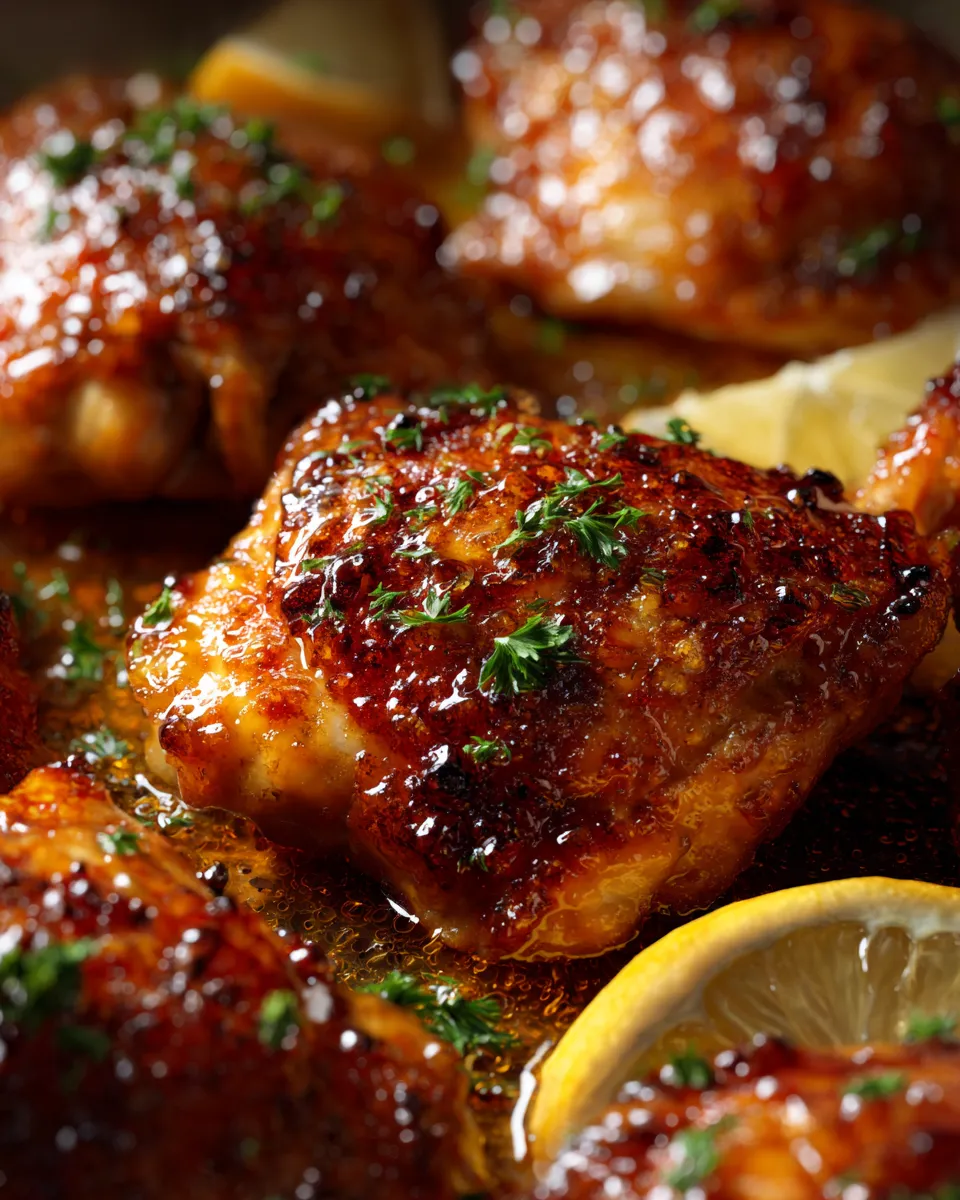
Sheet pan maple glazed chicken thighs offer a perfect balance of sweet and savory with caramelized maple syrup on crispy chicken skin. This easy, hands-off recipe yields tender, juicy thighs with minimal cleanup, ideal for a flavorful weeknight dinner.
How to Prepare Sheet Pan Maple Glazed Chicken Thighs
Following a clear sequence of steps is key to getting these thighs perfectly glazed and cooked. Let me walk you through each part.
- Preheat your oven to 425°F (220°C). A hot oven crisps the skin and caramelizes the glaze nicely.
- Prepare the maple glaze: In a medium bowl, whisk together maple syrup, Dijon mustard, soy sauce, minced garlic, black pepper, smoked paprika, and olive oil until smooth. This combination creates a lively glaze that sticks well to the chicken.
- Season the chicken thighs: Pat the chicken dry with paper towels. This helps the skin get golden and crispy. Sprinkle salt evenly over both sides.
- Coat the chicken: Place chicken thighs in the bowl with the glaze. Use a spoon or your hands to thoroughly coat each piece with the glaze. Let the chicken rest at room temperature for 10-15 minutes to soak up the flavor.
- Arrange the chicken on a rimmed sheet pan: Place the thighs skin side up, spaced out enough so they aren’t crowded. This promotes even cooking and crisp texture.
- Bake uncovered for 25-30 minutes. Midway through cooking (around 15 minutes), baste the chicken with the pan juices to boost flavor and moisture.
- Finish with a quick broil (optional): If you want extra crispiness, broil for 2-3 minutes at the end—but watch closely to avoid burning.
- Let the chicken rest for 5 minutes before serving. This lets juices redistribute, so each bite stays juicy.
You’ll notice the kitchen fills with an inviting aroma as the maple syrup caramelizes around the chicken. That’s when you know dinner’s going to be great.
Tips for Success with Sheet Pan Maple Glazed Chicken Thighs
After making this dish countless times, I’ve learned a few things that help it turn out perfect every single time.
- Dry chicken skin well: Moisture is the enemy of crispy skin. Pat the thighs dry before applying the glaze.
- Don’t overcrowd the pan: Air needs to circulate for even cooking and browning.
- Use real maple syrup: It has a richer flavor and caramelizes better than substitutes.
- Check internal temperature: Chicken is safe at 165°F (74°C). Use a digital thermometer to avoid overcooking.
- Rest after baking: Letting the thighs rest locks in the juices for tender bites.
- Feel free to add veggies: Toss chopped root vegetables or Brussels sprouts on the pan for an all-in-one meal.

Ingredient Notes and Substitutions
If you’re thinking about swapping certain ingredients, here’s what I’ve found works best:
- Chicken thighs: Skin-on, bone-in delivers juicier results than boneless or skinless.
- Maple syrup: Stick to pure maple syrup, but you can replace it with honey in a pinch—though the flavor will change slightly.
- Dijon mustard: Yellow mustard can be used, but Dijon adds a smoother, more refined zip.
- Soy sauce substitute: Coconut aminos work well for a gluten-free option.
- Smoked paprika: If you don’t have this, a sprinkle of regular paprika or chili powder can add mild warmth.
- Garlic: Garlic powder works in emergencies but fresh garlic really brightens the glaze.
Play around, but these notes help keep your dish on track for great results.
Frequently Asked Questions about Sheet Pan Maple Glazed Chicken Thighs
Can I make this recipe with boneless chicken thighs?
You can, but boneless thighs cook faster and tend to be less juicy. Keep an eye on cooking times if you swap—they might only need 15-20 minutes at 425°F.
How do I avoid the glaze burning in the oven?
If you notice the glaze darkening too quickly, you can tent the pan loosely with foil for part of the baking time, then remove it to crisp up at the end. Keeping the glaze balanced with mustard and soy sauce also helps prevent burning.
What sides go well with this dish?
This chicken pairs wonderfully with roasted vegetables, mashed potatoes, or a fresh green salad. The sweet-savory glaze goes nicely with almost any simple side that can soak up the juices.
Can I prepare the chicken in advance?
Yes, you can marinate the chicken in the maple glaze in the fridge for up to 24 hours. Bring it to room temperature before baking for even cooking.
What’s the best way to reheat leftovers?
Reheat in a 350°F oven for 10-15 minutes to regain crispiness. Microwave will heat it but can make the skin soggy.
Storage and Reheating Instructions for Sheet Pan Maple Glazed Chicken Thighs
After you’ve enjoyed your feast, you’ll want to keep leftovers tasty and safe. Store cooled chicken thighs in an airtight container in the fridge for up to 3 days. When reheating, use the oven as I mentioned—this keeps the skin from going limp. If you’re short on time, the microwave works in a pinch, but don’t expect crispy skin.
For meal prep, this recipe holds up well, and reheated chicken still tastes delicious with that sticky glaze. Just make sure to cover it loosely when baking so the glaze doesn’t dry out.