Apple bars hold a special spot in my recipe box. They’re the kind of sweet treat that fills your home with the inviting smell of baked apples and cinnamon, making any time feel cozy. If you love desserts that come together quickly and don’t require fancy tools, you’ll enjoy this apple bars recipe as much as I do. It’s straightforward, yet delivers comforting flavors that remind me of fall afternoons spent baking with family.
Over the years, I’ve fine-tuned this recipe to keep it easy and flavorful. What makes these apple bars stand out is the tender texture with just the right balance between sweet and tart apples, wrapped in a crumbly dough that’s easy to cut into squares. You’ll want to keep a batch ready for unexpected guests or a quiet night with a cup of tea.
Whether you’re new to baking or already have your kitchen rhythm, this apple bars recipe fits right in. I’ll walk you through every step, share my favorite tips, and answer some common questions to help you make the best apple bars you’ve ever tasted.
Ingredients for Apple Bars
Here’s what you’ll need for the apple bars. I keep the ingredient list simple and clear. You’ll want to prep the apples right before mixing, so they stay fresh and juicy. This recipe calls for common pantry staples and fresh fruit that works well for baking.
- 2 cups peeled, diced apples (choose firm varieties like Granny Smith or Honeycrisp for a good balance of tart and sweet)
- 1 cup packed light brown sugar (not too dry or clumpy)
- 1 cup all-purpose flour (spooned and leveled for accuracy)
- ½ teaspoon baking powder
- ½ teaspoon ground cinnamon
- ¼ teaspoon salt
- 2 large eggs (at room temperature for better mixing)
- ½ cup unsalted butter, melted and slightly cooled
- 1 teaspoon vanilla extract (pure vanilla adds the best aroma)
- Optional: ½ cup chopped walnuts or pecans for a little crunch (toast them lightly first)
Make sure you dice the apples into uniform pieces about half-inch in size. This helps them bake evenly. If you want a sweeter flavor, you can add a bit more brown sugar, but this amount balances well with the tartness of the apples.
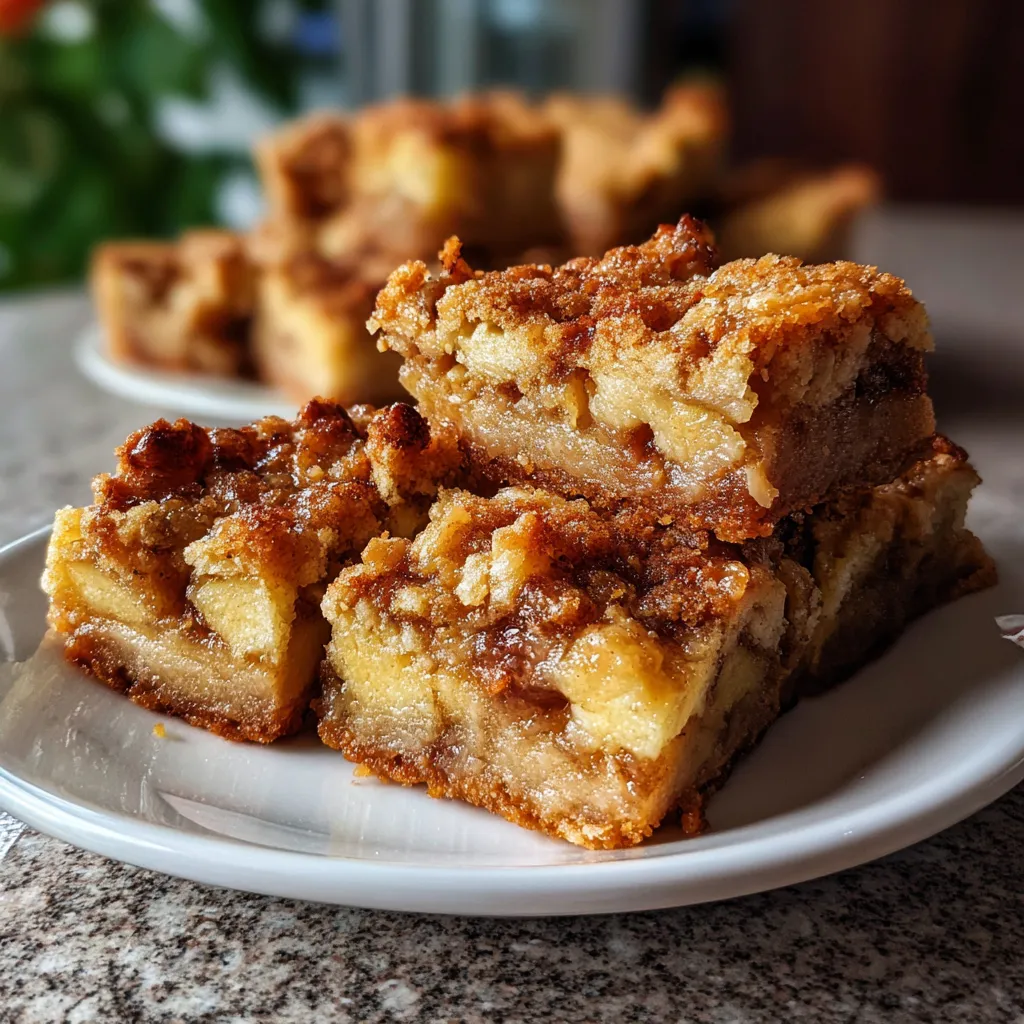
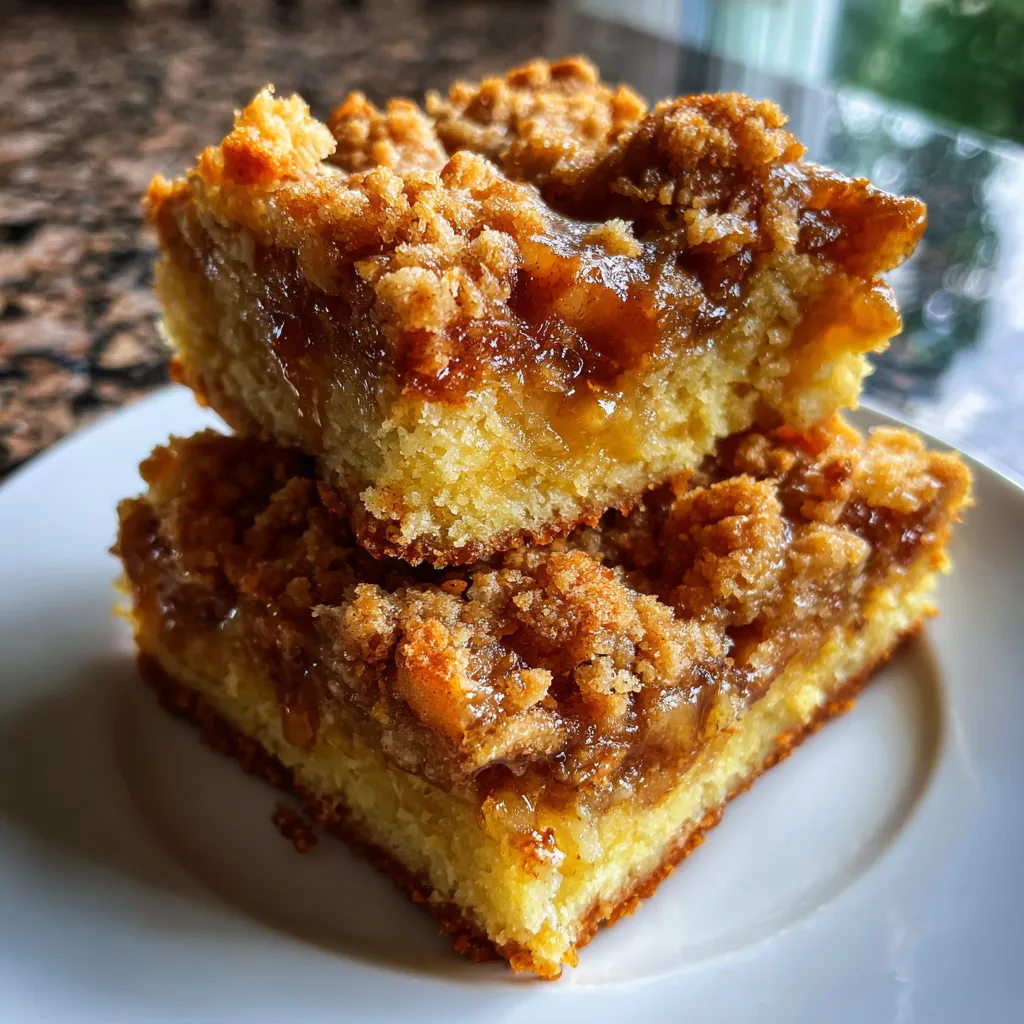
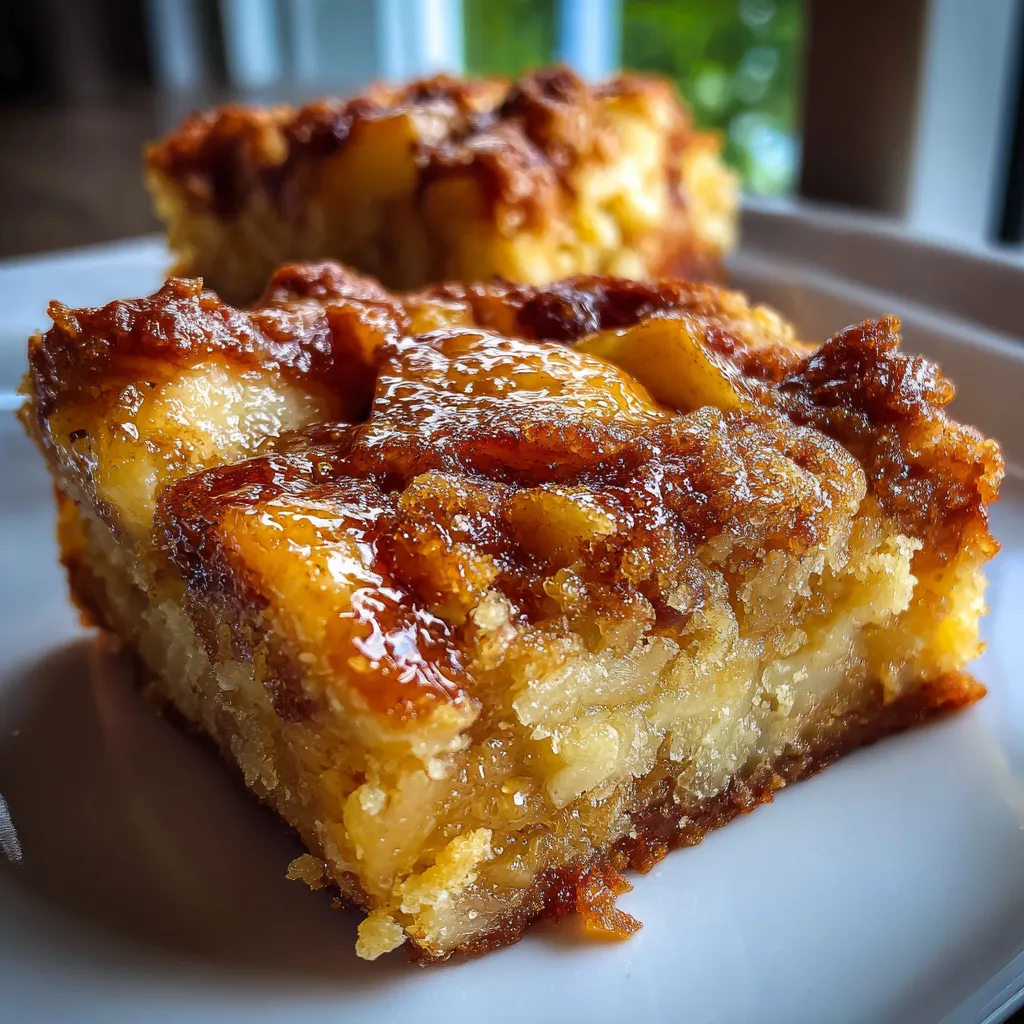
Apple Bars

Apple Bars recipe with five rich layers of flavor that satisfy your sweet tooth and bring comfort in every bite
- Prep Time: 15 minutes
- Cook Time: 40 minutes
- Total Time: 55 minutes
- Yield: 12 servings
- Category: Dessert
- Cuisine: American
Ingredients
- 2 cups peeled, diced apples (choose firm varieties like Granny Smith or Honeycrisp for a good balance of tart and sweet)
- 1 cup packed light brown sugar (not too dry or clumpy)
- 1 cup all-purpose flour (spooned and leveled for accuracy)
- ½ teaspoon baking powder
- ½ teaspoon ground cinnamon
- ¼ teaspoon salt
- 2 large eggs (at room temperature for better mixing)
- ½ cup unsalted butter, melted and slightly cooled
- 1 teaspoon vanilla extract (pure vanilla adds the best aroma)
- Optional: ½ cup chopped walnuts or pecans for a little crunch (toast them lightly first)
Instructions
- Preheat your oven to 350°F (175°C). Lightly grease or line a 9×13-inch baking pan with parchment paper so the bars come out cleanly.
- In a medium bowl, whisk together the flour, baking powder, salt, and cinnamon.
- In a separate large bowl, beat the eggs until smooth. Add the melted butter, brown sugar, and vanilla extract to the eggs. Stir until everything is combined, but don’t overbeat.
- Slowly fold the dry ingredients into the wet mixture until just incorporated. The batter will be thick but not dry. If you add nuts, fold them in now.
- Gently fold in the diced apples so the apple pieces don’t break down and stay intact in the bars.
- Pour the batter into your prepared pan and spread it out evenly with a spatula.
- Bake for 35-40 minutes, or until the top turns golden brown and a toothpick inserted near the center comes out clean or with just a few moist crumbs. Start checking around 30 minutes.
- Remove from the oven and let the apple bars cool in the pan on a wire rack for at least 20 minutes before slicing.
Notes
Apple bars hold a special spot in my recipe box. This straightforward recipe delivers comforting flavors of tart and sweet apples wrapped in a crumbly dough, perfect for cozy fall afternoons and quick desserts.
How to Prepare Apple Bars: Step-by-Step Instructions
Getting your apple bars just right is all about following these simple steps. I recommend setting up your ingredients and tools before you start, so everything flows smoothly.
- Preheat your oven to 350°F (175°C). Lightly grease or line a 9×13-inch baking pan with parchment paper so the bars come out cleanly.
- In a medium bowl, whisk together the flour, baking powder, salt, and cinnamon. This dry mix will give your bars structure and that classic warm spice flavor.
- In a separate large bowl, beat the eggs until smooth. Add the melted butter, brown sugar, and vanilla extract to the eggs. Stir until everything is combined, but don’t overbeat.
- Slowly fold the dry ingredients into the wet mixture until just incorporated. The batter will be thick but not dry. If you add nuts, fold them in now.
- Gently fold in the diced apples. This step is important so the apple pieces don’t break down and stay intact in the bars.
- Pour the batter into your prepared pan and spread it out evenly with a spatula.
- Bake for 35-40 minutes, or until the top turns golden brown and a toothpick inserted near the center comes out clean or with just a few moist crumbs. Ovens vary, so start checking around 30 minutes.
- Remove from the oven and let the apple bars cool in the pan on a wire rack for at least 20 minutes before slicing. This cooling time helps them firm up so your squares hold together perfectly.
Don’t rush the cooling—it’s tempting to dig in right away, but you’ll get cleaner cuts and better texture if they rest. When you slice, use a sharp knife and wipe it between cuts if you want your bars to look neat.
Why You’ll Love This Recipe
- Quick to make with minimal fuss—perfect when you want a dessert fast
- Uses everyday ingredients you probably have on hand
- Fresh apple flavor with warm cinnamon that fills your kitchen
- Versatile—enjoy as a snack, dessert, or even breakfast treat
- Easy to cut into bars that travel well for potlucks or lunchboxes
- Option to add nuts for extra texture or keep them simple and soft
This is one of those recipes I return to again and again, especially when apples are in season. It’s simple but hits that cozy note that’s just right for family gatherings or quiet nights at home.
Ingredient Notes and Substitutions for Apple Bars
Choosing the right apples makes a big difference. I usually pick Granny Smith for their tartness, but Honeycrisp or Fuji also work well if you prefer sweeter bars. Just make sure the apples are firm to avoid mushy bars.
If you want to swap the butter, you can try coconut oil melted, but note this will change the flavor and tenderness a bit. For a dairy-free version, use a vegan butter substitute with a similar melt point.
Brown sugar adds moisture and a hint of molasses flavor. Dark brown sugar will give a deeper taste, but light brown sugar is milder and just fine here.
For a gluten-free option, substitute all-purpose flour with a 1-to-1 gluten-free baking mix. The texture might be slightly different but still tasty.
Adding nuts is optional but recommended if you like a bit of crunch. Toast them lightly in a dry skillet for a few minutes to bring out their flavor before folding them into the batter.
Tips for Success with Apple Bars
Here are a few tips I’ve picked up from baking these apple bars countless times:
- Prep your apples just before mixing to keep them from browning or getting soggy.
- When folding wet and dry ingredients, mix gently and only until combined. Overmixing can make the bars tough.
- Line your baking pan with parchment paper going over the edges. This makes lifting out the bars for cutting much easier and cleaner.
- Keep an eye on the bars starting around 30 minutes, since ovens can bake differently. Remove from the oven once a toothpick poked in the center comes out with a few moist crumbs.
- Patience is key on cooling. Resist the urge to slice right away. Cooling helps the bars finish setting and prevents crumbling.
- If you want to reheat bars, a few seconds in the microwave or a warm oven bring back a fresh-baked feel.
My favorite part is when the cinnamon scent drifts through the kitchen—makes the wait worth it every time.
Storage and Reheating Instructions for Apple Bars
Once cooled, store your apple bars in an airtight container at room temperature for up to three days. If you want to keep them longer, wrap the bars tightly in plastic wrap and place them in the fridge for up to a week.
For longer storage, freezing works great. I like to cut the bars into individual squares, wrap each piece in plastic wrap, then place them together in a zip-top freezer bag. They keep well for about two months.
Reheat frozen bars by microwaving on low for 20-30 seconds or warming in a 300°F oven for 10 minutes. This way, you get that just-baked softness without drying them out.
Apple Bars Nutritional Information Disclaimer
The nutritional information for apple bars can vary widely depending on the brands of ingredients you use and the size of the pieces you cut. Because of this, I don’t provide exact calorie or nutrient counts here.
If you need detailed nutritional data, tools and apps like MyFitnessPal or other calorie counters can help you calculate based on your specific ingredients and portion sizes.
Keep in mind that homemade treats like these apple bars offer more control over what goes into them compared to store-bought options, so you can adjust sweetness or fat content to better fit your dietary needs.

Frequently Asked Questions About Apple Bars
What type of apples work best for apple bars?
Firm apples that hold their shape during baking are best, such as Granny Smith, Honeycrisp, or Fuji. These apples balance sweetness and tartness and prevent the bars from becoming mushy.
Can I make these apple bars ahead of time?
Yes, apple bars keep well. You can bake them a day or two ahead and store them in an airtight container. Just make sure to cool them fully before storing.
How do I keep apple bars from drying out?
Don’t overbake. Start checking around 30 minutes, and remove when a toothpick shows a few moist crumbs. Also, storing them sealed helps maintain moisture.
Can I freeze apple bars?
Absolutely. Slice them first, wrap each bar, and freeze in an airtight bag. When ready, thaw and rewarm gently for a freshly baked taste.
What can I serve with apple bars?
These bars are great on their own but also pair nicely with a scoop of vanilla ice cream, a dollop of whipped cream, or a drizzle of caramel sauce for extra indulgence.