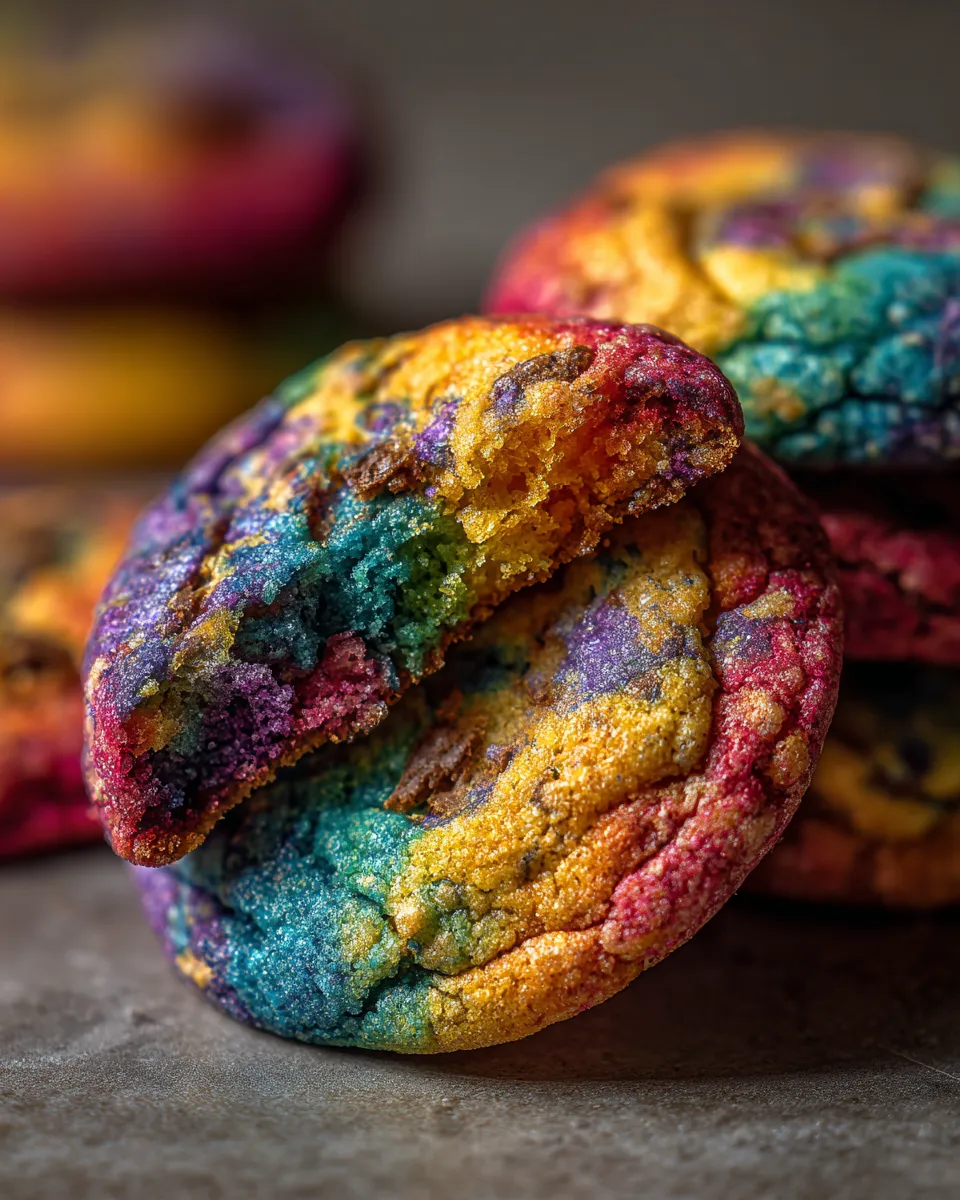
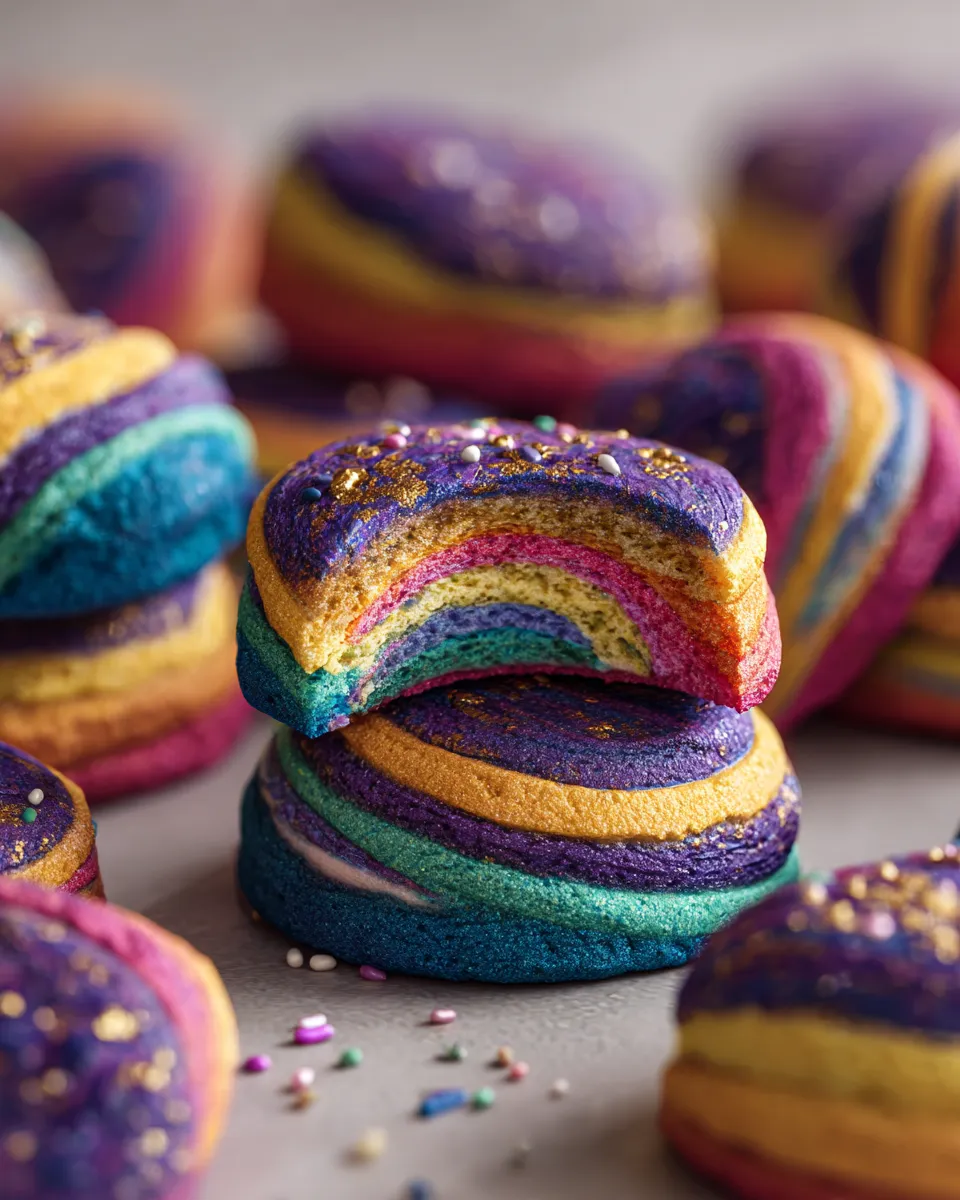
I’ll never forget the first time I made these Hidden Rainbow Cookies. The moment I cut into the bars and revealed those vibrant, colorful layers, it felt like a little celebration was happening right in my kitchen. The secret to these cookies is just that—they hide a rainbow inside every bite, bringing joy not only to your taste buds but also to your eyes. If you’re looking for a fun, colorful treat that’s a bit different from your usual cookie, this recipe is a total game-changer. The Hidden Rainbow Cookies are soft, buttery, and oh-so-satisfying, with a texture and flavor that instantly remind me of childhood birthday parties, wrapped up in a nostalgic little bar.
Hidden Rainbow Cookies: Why This Recipe Works & Ingredients
- 1 cup (2 sticks) unsalted butter, softened
- 1 cup granulated sugar
- 2 large eggs
- 1 teaspoon pure vanilla extract
- 2 ½ cups all-purpose flour
- 2 teaspoons baking powder
- ¼ teaspoon salt
- Food coloring gel or paste (red, orange, yellow, green, blue, purple)
- Optional: Sprinkles or edible glitter for decoration
Now let’s talk about why these ingredients come together so perfectly. Butter is the star here—it gives the cookies a rich, tender crumb that you just don’t get with oil or shortening. Its fat content helps create that melt-in-your-mouth texture. I always use unsalted butter so I can control the salt levels perfectly. The eggs add structure and moisture, keeping the cookie from being dry or crumbly. Vanilla extract lends that warm, comforting background flavor that just makes a cookie taste like home. The baking powder is essential—it gently lifts the dough so your cookies don’t turn out flat or tough. Lastly, using gel or paste food coloring means you get those bright, opaque rainbow hues without watering down your dough. Water-based liquid color can make the dough too soft and sticky, so I avoid it.
PrintHidden Rainbow Cookies

Hidden Rainbow Cookies reveal a colorful surprise that brightens your day and satisfies your sweet tooth like never before
- Prep Time: 20 minutes
- Cook Time: 30 minutes
- Total Time: 50 minutes
- Yield: 24 bars
- Category: Dessert
- Cuisine: American
Ingredients
Instructions
Notes
Soft, buttery Hidden Rainbow Cookies with vibrant, colorful layers inside each bar. A fun, nostalgic treat reminiscent of childhood birthday parties, perfect for adding color and delight to any occasion.
Hidden Rainbow Cookies: Step-by-Step Instructions
- Preheat your oven to 350°F (175°C). Line a 9×13-inch baking pan with parchment paper, leaving some overhang for easy removal later.
- Cream the butter and sugar. In a large mixing bowl, beat the softened butter and sugar together until the mixture is light and fluffy—that’s about 3 to 5 minutes with a hand or stand mixer. You’ll notice a pale color and a soft texture, which traps air and helps make the cookies tender.
- Add eggs and vanilla. Beat in the eggs one at a time, mixing well after each addition. Then mix in the vanilla. The dough might look a little curdled now, but don’t panic—that’s normal. Keep mixing.
- Combine dry ingredients. In a separate bowl, whisk together the flour, baking powder, and salt. Gradually add this to the wet ingredients, mixing just until combined. Overmixing can make your cookies tough, so stop as soon as you don’t see dry pockets.
- Divide and color the dough. Split the dough evenly into six portions. Using gel or paste food coloring, tint each portion a different color—red, orange, yellow, green, blue, and purple.
- Press the layers. Line your baking pan with these colorful dough blobs side by side, then gently press and smooth them together. Don’t worry if the layers blend just a bit—this gives that “hidden” effect once baked and sliced. You want the dough to be about 1 to 1¼ inches thick.
- Bake. Pop the pan in the oven for 25-30 minutes or until the edges turn golden and a toothpick inserted comes out clean. The entire kitchen will start smelling like butter and vanilla in no time—you’re winning.
- Cool and slice. Let the cookie slab cool completely in the pan (this can take around 45 minutes). Use the parchment paper overhang to lift it out and onto a cutting board. Slice into bars or squares with a sharp knife and enjoy that rainbow surprise inside.
Hidden Rainbow Cookies: Tips for Success
- Don’t skip chilling your dough. If your kitchen’s warm, pop each colored portion into the fridge for about 10 minutes before layering. This makes it less sticky and easier to handle.
- Use gel or paste food colorings. They give you vibrant hues without altering dough consistency.
- Be gentle layering. Press the dough layers firmly but don’t overwork or knead them together, or the colors will mix too much and lose their rainbow pop.
- Use parchment paper. It not only prevents sticking but makes removing your cookie slab super easy after baking.
- Slice when completely cool. Warm cookies will crumble or stick; patience here really pays off for clean, crisp edges.
Hidden Rainbow Cookies: Storage & Reheating
Once you’ve gobbled up some cookies (or hidden them away), keep the rest stored in an airtight container at room temperature. They’ll stay fresh and soft for up to 5 days. If you want to extend their life, popping them in the fridge works too, but let them come back to room temp before eating for the best texture.
Reheating is pretty simple: microwave a slice for about 10 seconds to bring back that buttery softness. Avoid the oven reheating method unless you’re warming a large batch since it can dry them out.
Hidden Rainbow Cookies: FAQ
Can I use liquid food coloring instead of gel or paste?
I don’t recommend liquid coloring for this recipe because it adds too much moisture, which can make your dough sticky and harder to handle. Gel or paste colors are highly concentrated and keep your dough’s texture just right.
Are these Hidden Rainbow Cookies gluten-free?
Not as written, but you can experiment with gluten-free all-purpose flour blends that substitute 1:1 with regular flour. Just keep in mind that texture might change a bit; gluten-free dough can sometimes be more crumbly or dense.
Why does this recipe call for baking powder and not baking soda?
Baking powder gives a gentle rise and tender crumb, perfect for cookies with layers like these. Baking soda is more aggressive and needs acid to activate, which this dough lacks. Using baking powder ensures the cookies hold their shape and stay soft.
Can I make this recipe vegan?
You could swap butter for vegan butter sticks and use flax eggs (1 tablespoon flax meal + 3 tablespoons water per egg) to keep it plant-based. The texture will be a little different but still enjoyably tender and colorful.
How do I avoid the colors from bleeding into each other?
Chilling each colored dough portion before layering helps keep edges crisp. Also, don’t overpress or knead the layers together, just gently press them flat—this keeps the color borders more defined.
Nutritional Information

Here’s a rough estimate for one serving (based on 24 bars):
- Calories: 160
- Fat: 9g
- Protein: 2g
- Carbohydrates: 18g
These numbers can vary depending on portion size, type of butter used, and brand of food coloring, so use this as a general guideline rather than an exact count.
Wrapping Up Hidden Rainbow Cookies
Making Hidden Rainbow Cookies always feels like a little celebration to me, and I hope that experience shines through in your kitchen too. You get a great balance of buttery flavor, soft texture, and a playful surprise hidden inside each cookie bar. These cookies are perfect for special occasions or anytime you want to add a splash of color and delight. If you try this recipe, drop a comment to let me know how your rainbow turned out—I’m always so curious to see how everyone’s layers hold up and which colors shine the brightest in your kitchen!