There’s something about the smell of melting chocolate mixed with the fresh, slightly crunchy texture of toasted coconut that takes me straight back to those childhood Easter mornings. This Chocolate Easter Egg Nest Cake is my go-to showstopper for spring celebrations—the perfect blend of rich chocolatey goodness wrapped around a nest of festive fun. I love how it’s both simple and special, making it a breeze to whip up even when time is tight. Plus, it’s so customizable that every year I find a new way to make it even better. You’ll want this recipe handy for your next Easter gathering, and here’s why it stands apart from your usual desserts.
Chocolate Easter Egg Nest Cake: The Why & Ingredients
- 200g (7oz) dark chocolate (70% cocoa for a deep, intense flavor)
- 100g (3.5oz) milk chocolate, chopped
- 100g (3.5oz) salted butter
- 150g (5oz) golden syrup or honey for that perfect sticky bite
- 100g (3.5oz) toasted shredded coconut
- 150g (5oz) cornflakes or rice cereal for the crunch
- Mini chocolate Easter eggs (about 20–25 pieces), or any assorted small candies
- 1 tsp vanilla extract for a gentle aromatic lift
- A pinch of sea salt to balance the sweetness
This recipe leans heavily on that lovely blend of dark and milk chocolate. Dark chocolate brings richness and that slightly bitter note which stops the cake from being too cloyingly sweet, while milk chocolate keeps it mellow and creamy. Butter adds a silky mouthfeel that melts perfectly on your tongue, giving the nest a luxurious texture. The golden syrup isn’t just for sweetness—it’s the glue that binds the cereal and coconut, helping create that nest structure without it becoming dry or crumbly.
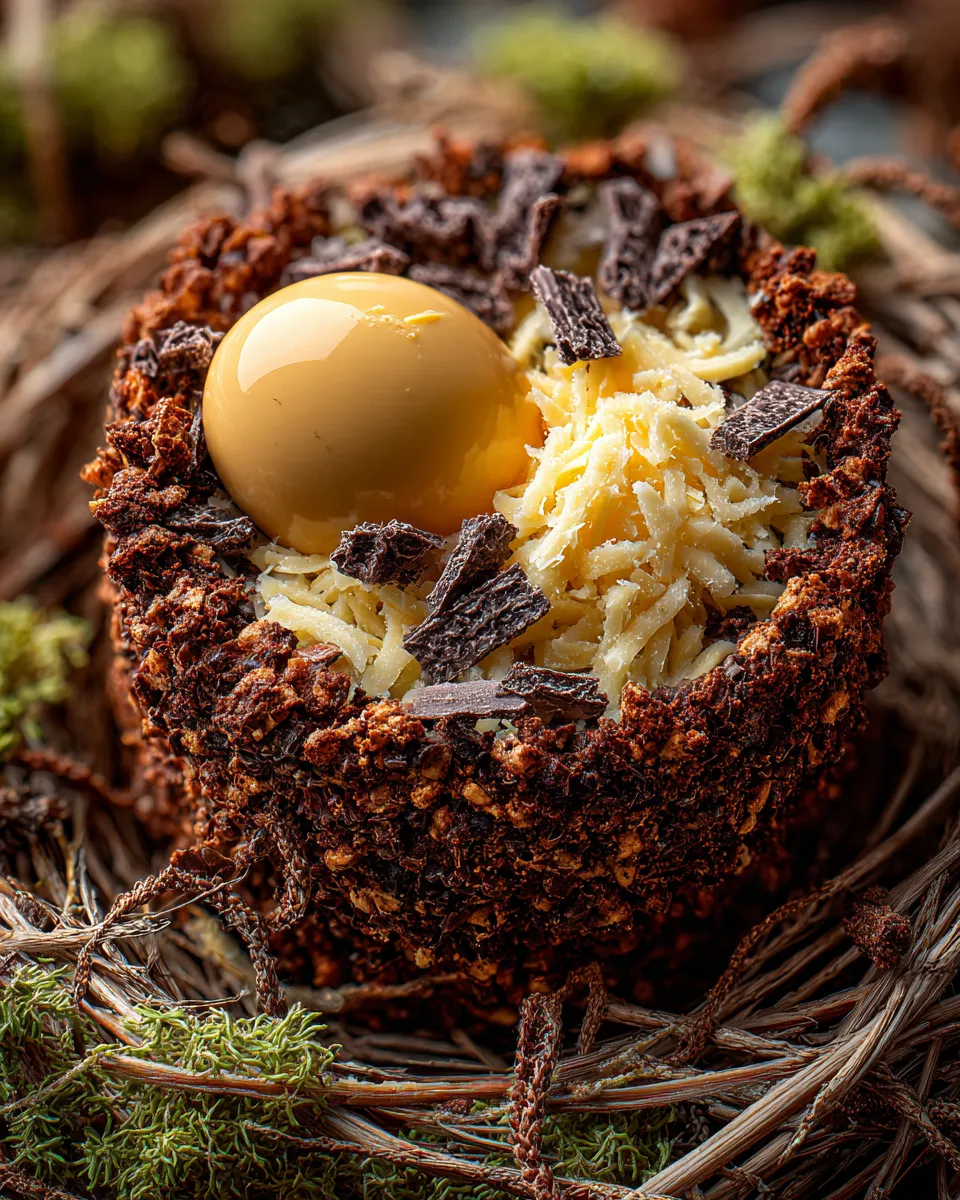
Toasted shredded coconut isn’t just for flavor; the toasting amps up the nuttiness and adds a subtle chew that contrasts beautifully with crisp cornflakes. Finally, the mini Easter eggs add color, surprise, and that hit of milk chocolate or candy crunch that kids and adults both adore. A tiny pinch of sea salt? Trust me, it makes the chocolate flavors pop even more.
PrintChocolate Easter Egg Nest Cake

Create a delicious Chocolate Easter Egg Nest Cake that delights your family and makes Easter celebrations unforgettable and joyful
- Prep Time: 15 minutes
- Cook Time: 10 minutes
- Total Time: 2 hours 25 minutes
- Yield: 10 servings
- Category: Dessert
- Cuisine: Western
Ingredients
Instructions
Notes
A delicious and festive Chocolate Easter Egg Nest Cake combining rich dark and milk chocolate with toasted coconut and cornflakes, perfect for spring celebrations and Easter gatherings. This easy-to-make dessert features a crunchy, chewy, and chocolatey nest topped with mini chocolate Easter eggs.
Chocolate Easter Egg Nest Cake: Step-by-Step Instructions
- Prep your workspace. Line a baking tray with parchment paper so you can shape your nests without sticking.
- Melt the chocolate and butter. Break up both chocolates, combine them with the butter in a heatproof bowl, and gently melt over a pan of simmering water. Stir frequently until completely smooth and glossy. Try not to get water in the chocolate mix—water causes it to seize, which we definitely want to avoid!
- Stir in golden syrup, vanilla, and sea salt. Once melted, remove the bowl from heat and quickly whisk in the syrup, vanilla extract, and sea salt until combined.
- Add your crunchy ingredients. Mix in the toasted coconut and cornflakes carefully, making sure every bit of cereal is coated in that rich chocolate mixture. It will look messy and sticky, but keep going.
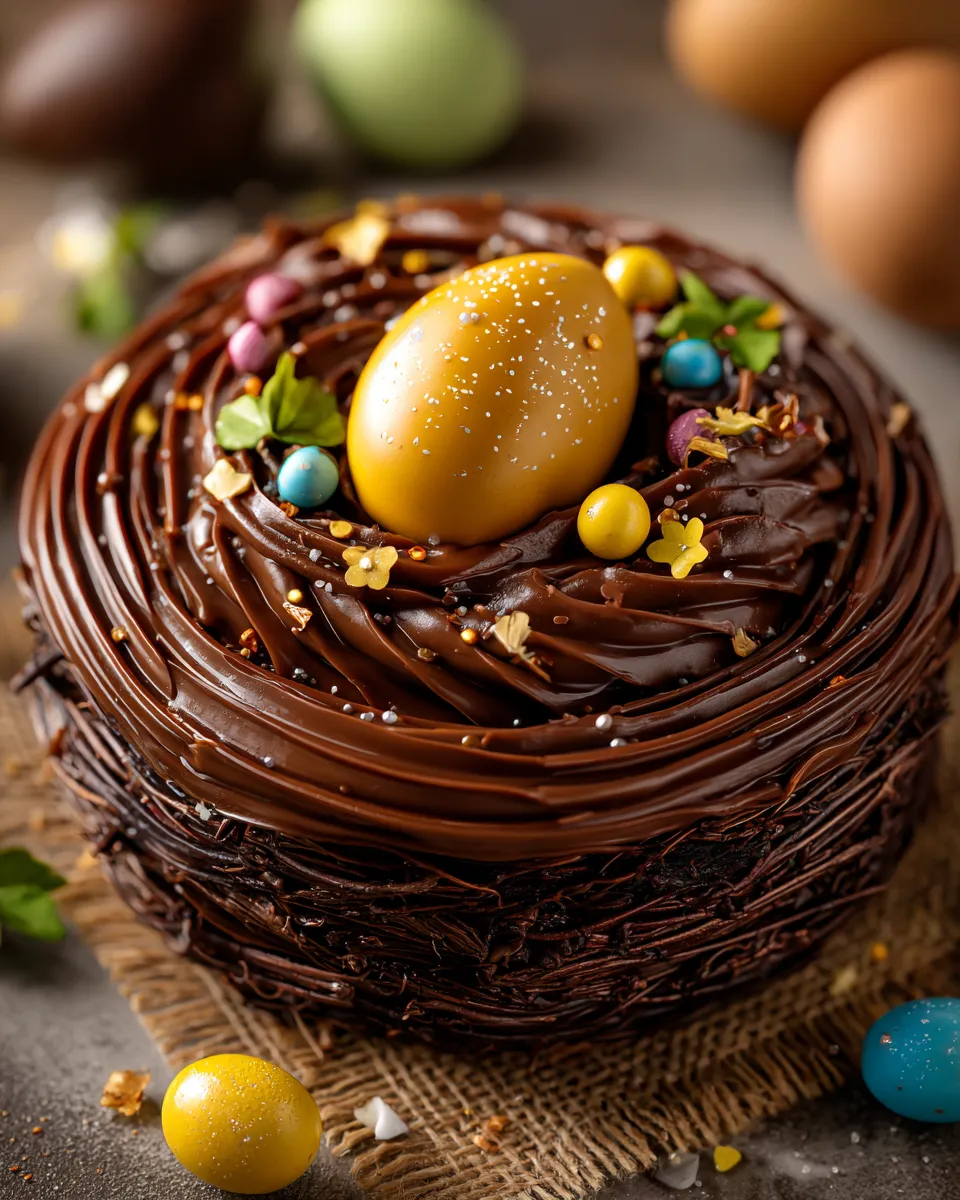
- Shape the nests. Using a spoon or your hands, pile small clusters onto the parchment, then gently press the center to form a shallow bowl shape for your eggs to sit in. Don’t worry if they’re a bit rough around the edges; that homey look is part of the charm.
- Chill and set. Place the tray in the fridge for at least 2 hours or until completely firm and set.
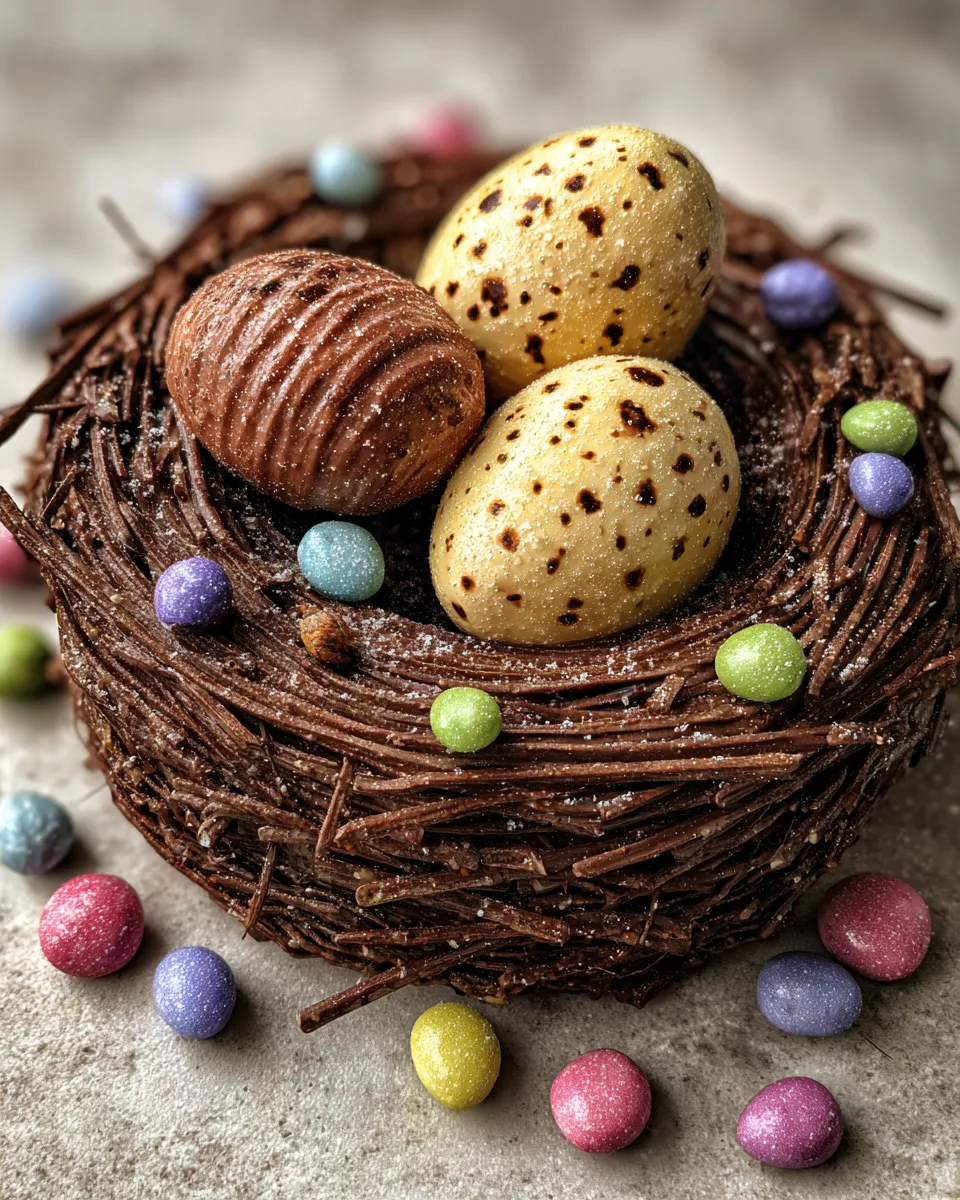
- Add the mini eggs. Once set, pop your chocolate eggs right in the center and get ready to impress your guests.
It’s really satisfying how the glossy chocolate coats the crunchy bits, and when you bite into a nest, you get this beautiful interplay of textures—crisp cornflakes, chewy coconut, and that rich, melting chocolate. Plus, it’s a crowd-pleaser that looks way more complicated than it is.
Chocolate Easter Egg Nest Cake: Tips for Success
- Use good-quality chocolate: The taste hinges on your chocolate choice, so don’t skimp here. Dark chocolate with at least 70% cocoa gives the best flavor balance.
- Toast the coconut evenly: Stir it frequently over medium heat until it turns golden brown for that perfect nutty crunch.
- Don’t rush the chilling step: Allow the nests to set fully in the fridge so they hold their shape when you serve them.
- Work quickly when shaping: The chocolate mixture firms up fast, especially if your kitchen is cool, so have your tray ready before you start scooping.
- Store in an airtight container: Keep them fresh longer by storing in a cool, dry place away from strong odors.
Chocolate Easter Egg Nest Cake: Storage & Reheating
These chocolate nests are best eaten within 4-5 days of making but can last up to a week if kept in an airtight container in a cool, dry spot—ideally your pantry if it’s not too warm. Refrigeration is okay but can sometimes dull the crispness of the cereal, so only fridge if you have no choice.
I don’t recommend reheating this cake because it’s meant to be enjoyed chilled or at room temperature. If your kitchen is warm and they’ve softened too much, just pop them in the fridge for a quick 15-20 minutes to firm up before serving again. That way, you keep the crunch without melting your beautiful nests.
Chocolate Easter Egg Nest Cake: FAQ
Can I make this recipe vegan or dairy-free?
Yes! Swap out the butter for a plant-based margarine or coconut oil, and use dairy-free dark and milk chocolate versions. Ensure your golden syrup or honey substitute is vegan-friendly, like maple syrup. Keep an eye on the mini eggs too, as some contain dairy.
What if I don’t have golden syrup—can I substitute it?
You can use honey, corn syrup, or even maple syrup, though each will slightly change the flavor. Golden syrup gives a unique caramel richness and viscosity that helps the nest hold together, so pick the closest substitute you have.
How long will the nest cake last?
If stored properly in an airtight container at room temperature, they’ll stay fresh for up to a week. Beyond that, the cereal might lose its crunch, and the chocolate may start to bloom (white streaks)—which isn’t harmful but less pretty.
Can I use rice cereal instead of cornflakes?
Absolutely! Rice cereal or puffed rice works well and gives a different texture that’s lighter and crispier. Just make sure to toast your coconut to maintain that balance.
Can I use white chocolate for this recipe?
You can, but since white chocolate is much sweeter and lacks cocoa solids, it changes the nest’s flavor and texture substantially. I recommend mixing white chocolate with some milk chocolate to balance sweetness and create a smoother structure.
Nutritional Information
Here’s an approximate breakdown per serving (assuming about 10 servings):
- Calories: 350 kcal
- Fat: 22g (of which saturated fat: 14g)
- Protein: 3g
- Carbohydrates: 35g (of which sugars: 25g)
- Fiber: 2g
These numbers are rough estimates and can vary based on ingredient brands and portion sizes.
Conclusion
This Chocolate Easter Egg Nest Cake has become a staple in my home every spring because it’s a deliciously fun way to celebrate the season with family and friends. It’s easy enough for a weeknight bake but impressive enough to steal the show at holiday parties. Plus, the texture contrast keeps everyone coming back for more—trust me, the chocolatey crunch combined with those little colorful eggs feels like a mini celebration in every bite.
Give this a try, and I’d love to hear how your nests turned out! Don’t hesitate to share your tips or tweaks—I’m always eager to hear new ideas that make this recipe even better.