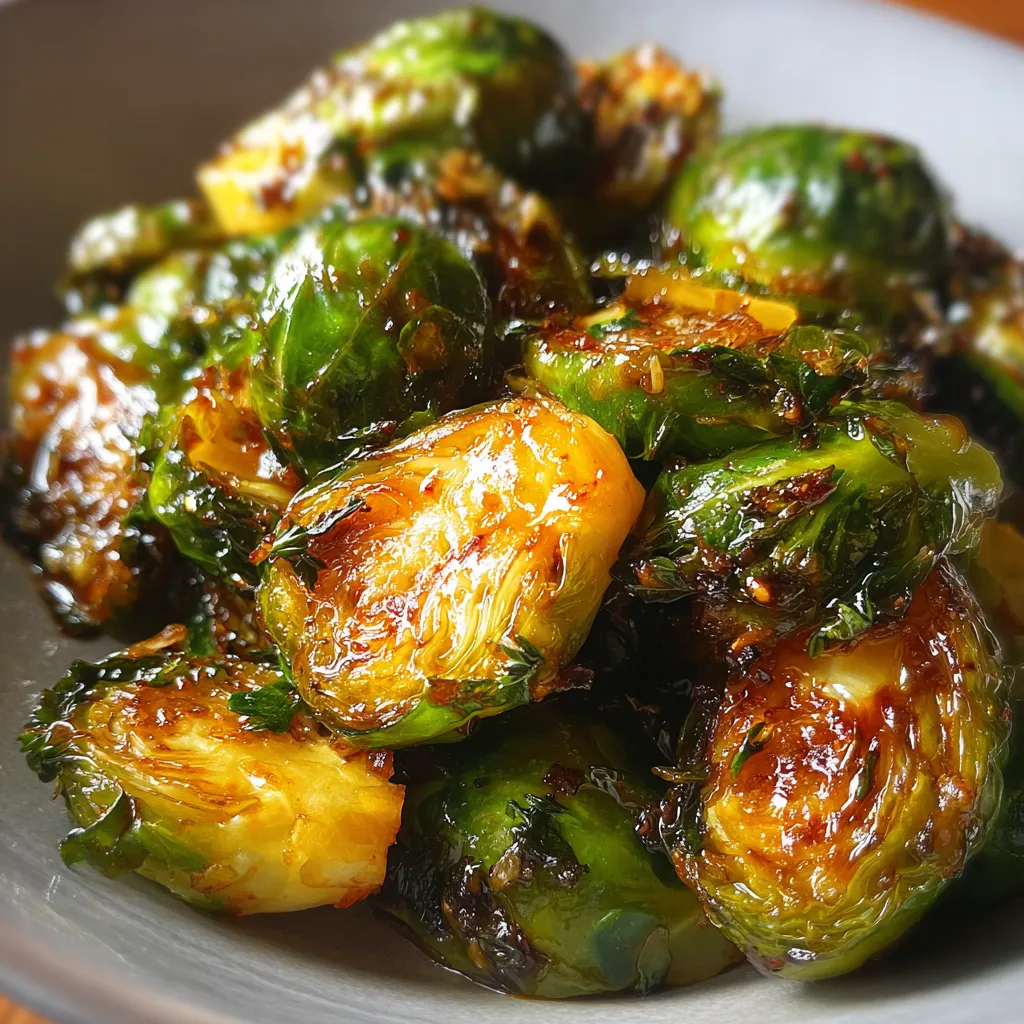
When it comes to making Brussels sprouts exciting, caramelizing them is my go-to trick. The sweet, crispy edges combined with tender insides make these little green veggies irresistible. I’ve been cooking caramelized Brussels sprouts for years, and let me tell you—they’re far from the bland side dish many people expect. You’re about to discover how easy it is to get that deep flavor and perfect texture without spending hours in the kitchen. Plus, no fancy ingredients needed, just a few simple staples you probably already have.
Ingredients for Caramelized Brussels Sprouts
For the best caramelized Brussels sprouts, you want to use fresh, firm ones. I always pick sprouts that are small to medium-sized because they caramelize evenly and quickly.
- 1 pound Brussels sprouts, trimmed and halved
- 2 tablespoons olive oil
- 1 tablespoon unsalted butter
- 2 cloves garlic, finely minced
- 1 teaspoon kosher salt
- ½ teaspoon freshly ground black pepper
- 1 tablespoon balsamic vinegar (optional but highly recommended)
- 1 teaspoon brown sugar (packed, to help with caramelizing)
Make sure you trim the base of each sprout and remove any yellow or damaged leaves. Halving them ensures even cooking and lots of crispy edges to enjoy.
Caramelized Brussels Sprouts
Caramelized Brussels Sprouts recipe with 5 tasty flavors to turn ordinary sprouts into a mouthwatering side everyone will love
- Prep Time: 10 minutes
- Cook Time: 15 minutes
- Total Time: 25 minutes
- Yield: 4 servings
- Category: Side Dish
- Cuisine: American
Ingredients
- 1 pound Brussels sprouts, trimmed and halved
- 2 tablespoons olive oil
- 1 tablespoon unsalted butter
- 2 cloves garlic, finely minced
- 1 teaspoon kosher salt
- ½ teaspoon freshly ground black pepper
- 1 tablespoon balsamic vinegar (optional but highly recommended)
- 1 teaspoon brown sugar (packed, to help with caramelizing)
Instructions
- Prep your Brussels sprouts: After trimming and halving, pat them dry. Excess moisture steams them instead of caramelizing.
- Heat the pan: Use a large skillet over medium-high heat. Add olive oil and butter.
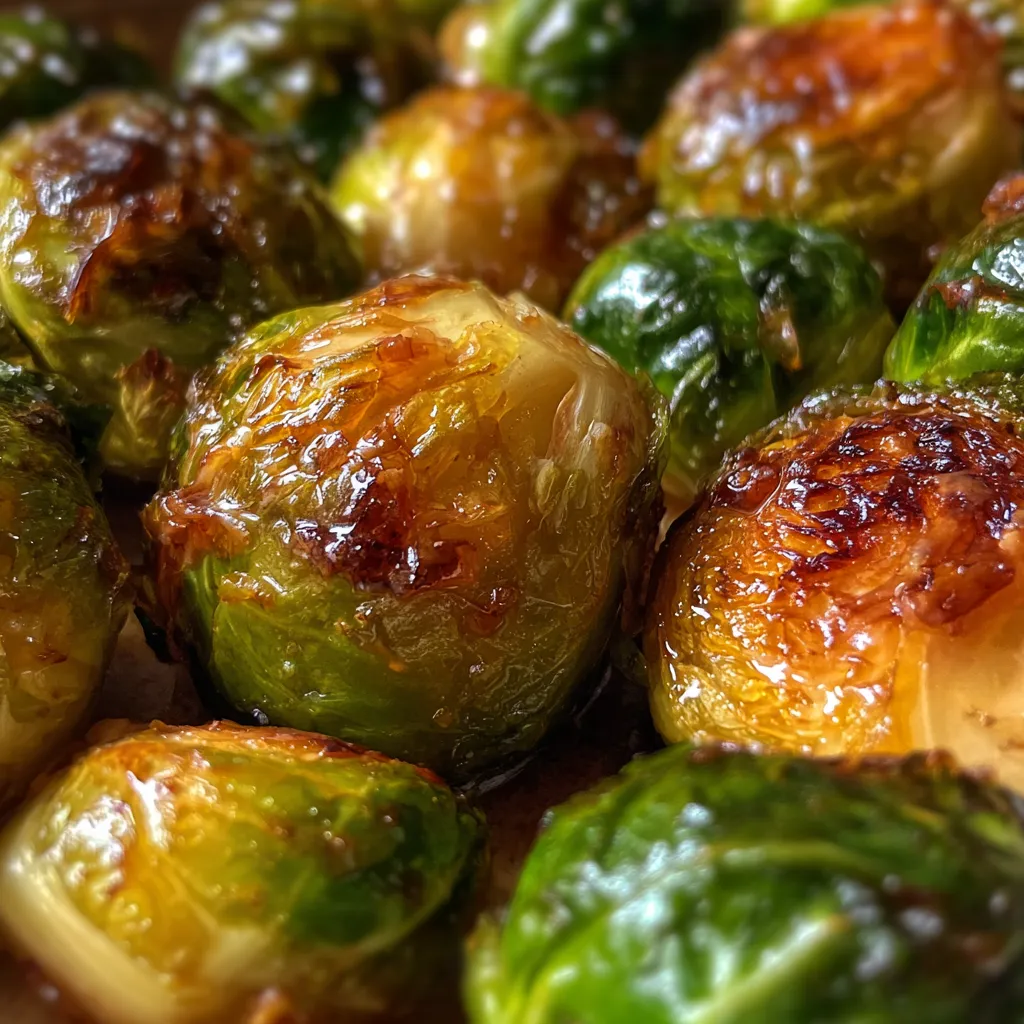
- Start cooking: Place the sprouts cut-side down in the hot pan in a single layer. Don’t crowd the pan. Let cook untouched for 5–7 minutes until golden brown edges form.
- Add garlic, salt, and pepper: Toss sprouts gently, then add garlic and seasoning. Cook another 3–4 minutes, stirring occasionally.
- Add the sweet touch: Sprinkle brown sugar and stir well to deepen caramel flavor.
- Finish with balsamic vinegar: Drizzle over sprouts, stir for 1–2 minutes and let liquid reduce slightly.
- Serve hot: Right from the pan for best crispy, sweet, and savory flavor.
How to Prepare Caramelized Brussels Sprouts
Getting perfect caramelized Brussels sprouts is all about timing and heat control. Let me walk you through each step carefully.
- Prep your Brussels sprouts: After trimming and halving, pat them dry. Excess moisture steams them instead of caramelizing.
- Heat the pan: Use a large skillet over medium-high heat. Add olive oil and butter. Butter adds richness, but oil raises the smoke point for better caramelization.
- Start cooking: Place the sprouts cut-side down in the hot pan in a single layer. Don’t crowd the pan to get maximum browning. Let them cook untouched for 5–7 minutes. You should see golden brown edges forming.
- Add garlic, salt, and pepper: Toss the sprouts gently, then add the garlic and seasoning. Keep cooking for another 3–4 minutes, stirring occasionally, so garlic doesn’t burn but gets fragrant.
- Add the sweet touch: Sprinkle brown sugar and stir well. This step helps deepen the caramel flavor without making them sticky.
- Finish with balsamic vinegar: Drizzle balsamic vinegar over the sprouts, stir for 1–2 minutes, and let the liquid reduce slightly for a tangy contrast.
- Serve hot: Right from the pan is best. The sprouts will be crispy, sweet, and savory all at once.
If your sprouts seem a bit stubborn to brown, gently increase the heat, but be careful not to burn the garlic or sugar.
Personal Tips for Perfect Caramelized Brussels Sprouts
Let me share a few things I’ve learned over time. These simple adjustments make the recipe foolproof.
- Don’t skip the butter; it adds the crucial richness that oil alone can’t provide.
- When tossing the sprouts, handle them gently so you keep most of the crispy surface.
- If you want extra crunch, finish them under the broiler for 2 minutes after caramelizing. Watch closely!
- Garlic burns easily. Add it after the sprouts have started browning and keep the heat moderate.
- Using a cast-iron skillet helps get that golden sear faster and more even.
- For an extra pop, sprinkle chopped toasted walnuts or a few red pepper flakes before serving.

Ingredient Variations and Substitutions for Caramelized Brussels Sprouts
You can tweak this recipe based on what you have or how you like your flavors. Here’s what works well:
- Instead of brown sugar: Try maple syrup or honey for a sweeter twist.
- Butter substitute: Use ghee for a nuttier flavor or stay vegan by using extra olive oil.
- Balsamic vinegar alternative: Apple cider vinegar or lemon juice adds brightness without overpowering.
- Add nuts or cheese: Pecans, almonds, or shaved parmesan at the end add texture and umami depth.
- Spices: A pinch of smoked paprika or cumin brings warmth and complexity.

Storage and Reheating Tips for Caramelized Brussels Sprouts
Leftovers taste great but can lose their crispiness quickly. Here’s how to keep them fresh:
- Store in an airtight container in the refrigerator for up to 3 days.
- To reheat, spread the sprouts on a baking sheet and warm under the oven broiler for 3–5 minutes to re-crisp the edges. Stir halfway through.
- Avoid microwaving as it makes them soggy. If you must microwave, cover loosely and heat briefly.
If you’re making this recipe for a gathering, prepare the sprouts ahead up to the caramelizing step and finish the final glaze just before serving.
Estimated Nutritional Information for Caramelized Brussels Sprouts
This estimate is based on typical ingredients and portions for one serving (about one cup):
- Calories: Approximately 120
- Fat: 8 grams (mostly from olive oil and butter)
- Protein: 3 grams
- Carbohydrates: 10 grams
- Fiber: 4 grams
- Sugar: 3 grams (includes natural sugars from Brussels sprouts and brown sugar)
The actual nutrition will vary depending on exact ingredient brands and portion sizes.
Common Questions About Caramelized Brussels Sprouts
Can I use frozen Brussels sprouts for caramelizing?
You can, but fresh sprouts give the best texture and flavor. Frozen ones release more water, which can steam rather than caramelize them. If using frozen, make sure to thaw and dry them well before cooking.
What if my Brussels sprouts are large? Should I chop them differently?
For bigger sprouts, quarter them instead of halving so they cook evenly and get enough surface exposed to caramelize properly.
How long does it take to caramelize Brussels sprouts?
It usually takes about 12 to 15 minutes total on the stovetop, depending on heat and pan size. The key is patience—don’t rush or stir too often to let them brown nicely.
Can I make caramelized Brussels sprouts without garlic?
Absolutely. Garlic adds flavor, but you can skip it or replace it with shallots or onion powder for a milder taste.
Are caramelized Brussels sprouts healthy?
Yes, they’re packed with fiber, vitamins, and antioxidants. Using moderate oil and sugar keeps them balanced. This recipe can be a nutritious side or part of a healthy meal.