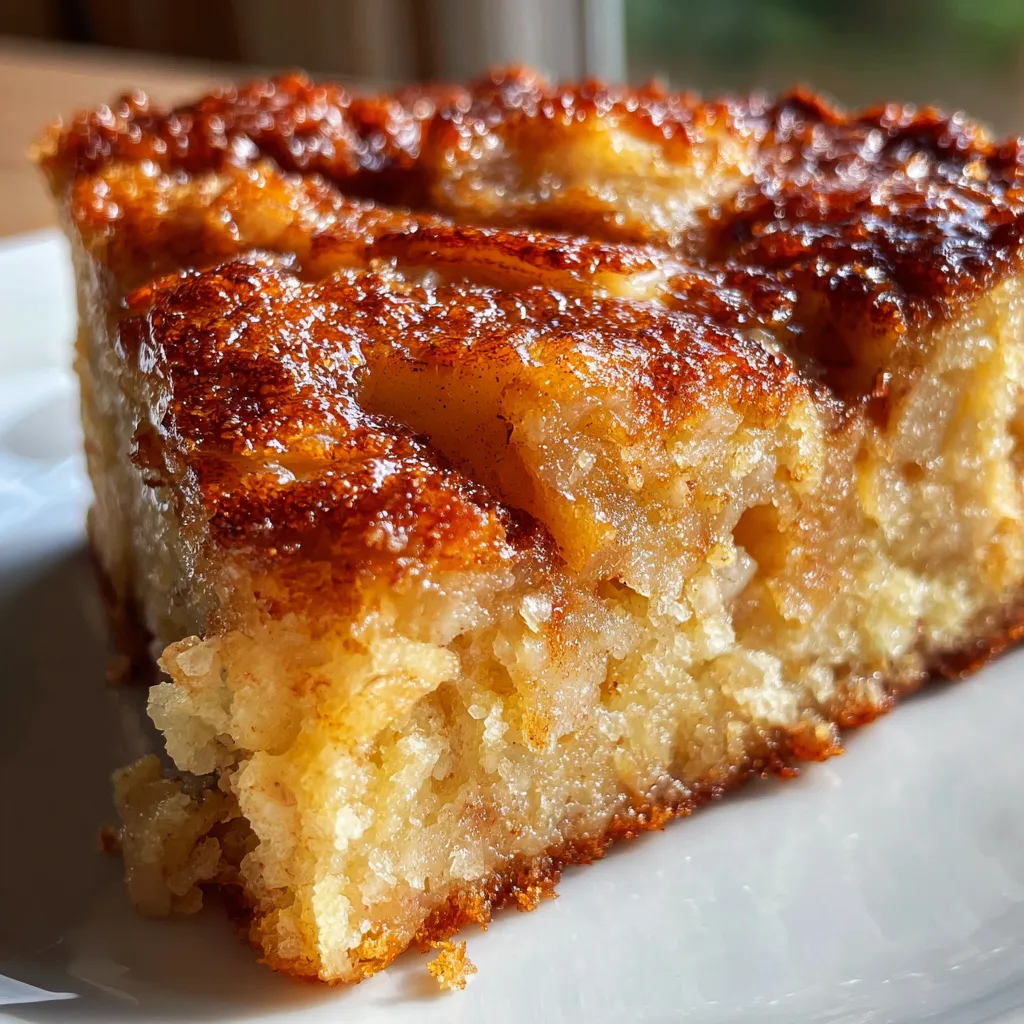
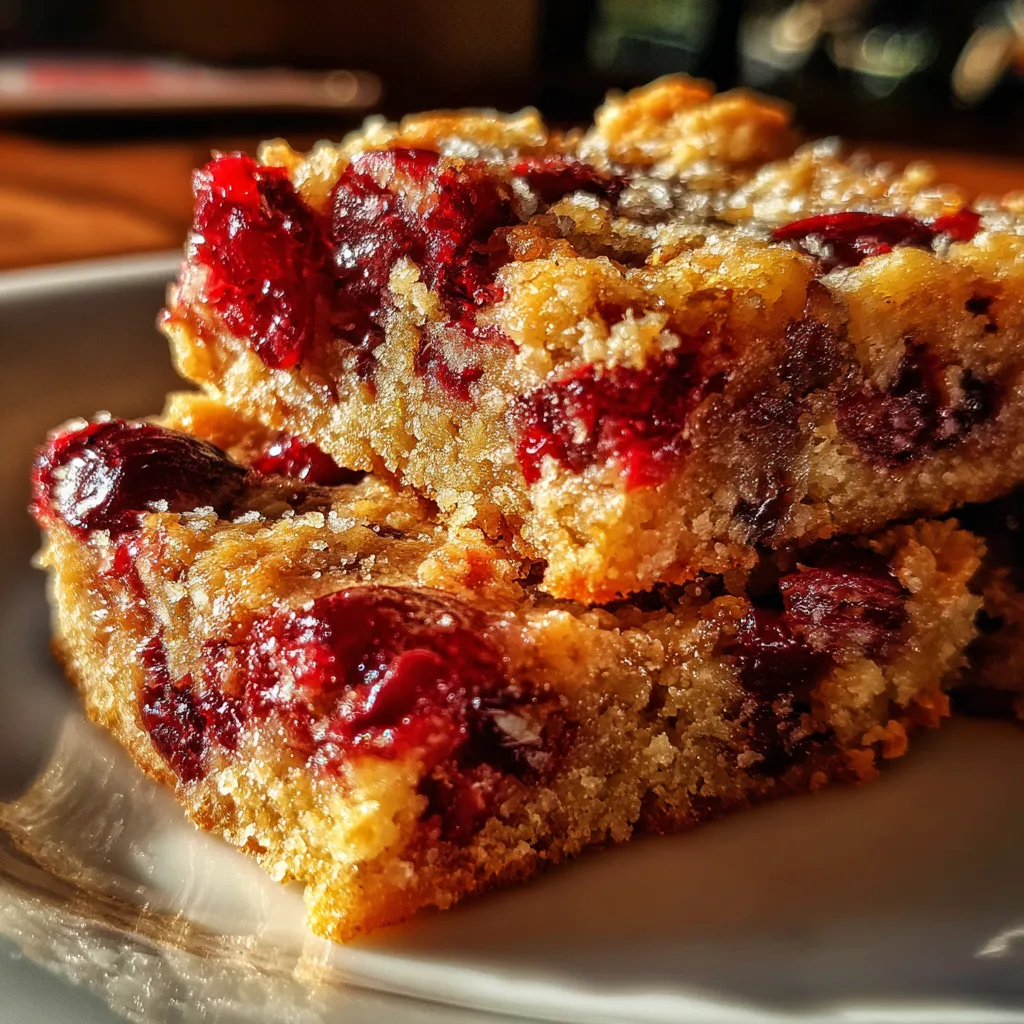
Apple crisp bars are my go-to treat every fall when the air starts to crisp and fresh apples flood the markets. This recipe is simple, hands-on, and delivers that classic cozy flavor in a convenient bar form. Baking these bars fills my kitchen with the warm scent of cinnamon and baked apples, which reminds me of lazy weekend afternoons spent with family. Trust me, once you try this delicious apple crisp bars recipe, it’ll become a regular favorite for your fall gatherings or afternoon snacks.
Ingredients for Delicious Apple Crisp Bars
For this recipe, every ingredient matters to get that perfect balance of crumbly crust and tender apple filling. I always make sure to have crisp tart apples, like Granny Smith, on hand because they offer just the right tang to contrast the sweet topping.
- 2 large tart apples, peeled, cored, and diced into 1/2-inch pieces
- 1 cup packed brown sugar (light or dark works fine)
- 1 cup old-fashioned rolled oats
- 1 ¼ cups all-purpose flour
- 1 teaspoon ground cinnamon
- ½ teaspoon ground nutmeg
- ½ teaspoon baking powder
- ¼ teaspoon salt
- ½ cup unsalted butter, cold and cut into cubes
- 1 large egg
- 1 teaspoon vanilla extract
Make sure your brown sugar is firmly packed so your bars get that moist, chewy texture. Also, having the butter cold is key because it helps create the crumbly topping that melts in your mouth.
Delicious Apple Crisp Bars Recipe for Fall Treats

Enjoy the best Delicious Apple Crisp Bars Recipe for Fall Treats with 5 secrets to make your dessert warm cozy and unforgettable this season
- Prep Time: 20 minutes
- Cook Time: 45 minutes
- Total Time: 1 hour 5 minutes
- Yield: 16 bars
- Category: Dessert
- Cuisine: American
Ingredients
- 2 large tart apples, peeled, cored, and diced into 1/2-inch pieces
- 1 cup packed brown sugar (light or dark works fine)
- 1 cup old-fashioned rolled oats
- 1 ¼ cups all-purpose flour
- 1 teaspoon ground cinnamon
- ½ teaspoon ground nutmeg
- ½ teaspoon baking powder
- ¼ teaspoon salt
- ½ cup unsalted butter, cold and cut into cubes
- 1 large egg
- 1 teaspoon vanilla extract
Instructions
- Preheat your oven to 350°F (175°C).
- In a large bowl, combine flour, rolled oats, brown sugar, baking powder, salt, cinnamon, and nutmeg. Add the cold butter cubes and use a pastry cutter or your fingers to mix until you get a coarse crumb texture resembling little pea-sized crumbs.
- Take about 2/3 of the crumb mixture and press it firmly into a greased 9×9-inch baking pan to form an even crust layer.
- In another bowl, toss the diced apples with the egg and vanilla extract to bind and add moisture.
- Spread the apple mixture evenly over the crust without pressing down too hard.
- Sprinkle the remaining crumb mixture evenly over the apples.
- Bake for about 40-45 minutes until the topping is golden brown and apples are bubbly. Check after 35 minutes and cover with foil if browning too quickly.
- Let cool for at least 20 minutes before slicing into 2×2 inch squares.
How to Prepare Delicious Apple Crisp Bars Step by Step
Making these apple crisp bars is straightforward, but I like to break down the steps so you can follow easily and get the best results. Here’s what you’ll want to do:
- Preheat your oven to 350°F (175°C). It’s best to get the oven hot before you start mixing, so the bars bake evenly.
- Prepare the crust and topping: In a large bowl, combine flour, rolled oats, brown sugar, baking powder, salt, cinnamon, and nutmeg. Add the cold butter cubes and use a pastry cutter or your fingers to mix until you get a coarse crumb texture. It should look like little pea-sized crumbs.
- Take about 2/3 of this crumb mixture and press it firmly into a greased 9×9-inch baking pan to form an even crust layer.
- Mix the apple filling: In another bowl, toss the diced apples with the egg and vanilla extract. The egg helps bind the apples and add moisture without making the filling soggy.
- Spread the apple mixture evenly over the crust. Make sure the apples cover the entire surface but don’t press down too hard.
- Sprinkle the remaining crumb mixture over the apples. You want a nice even layer, but some lumps are okay – they add to the crumbly texture.
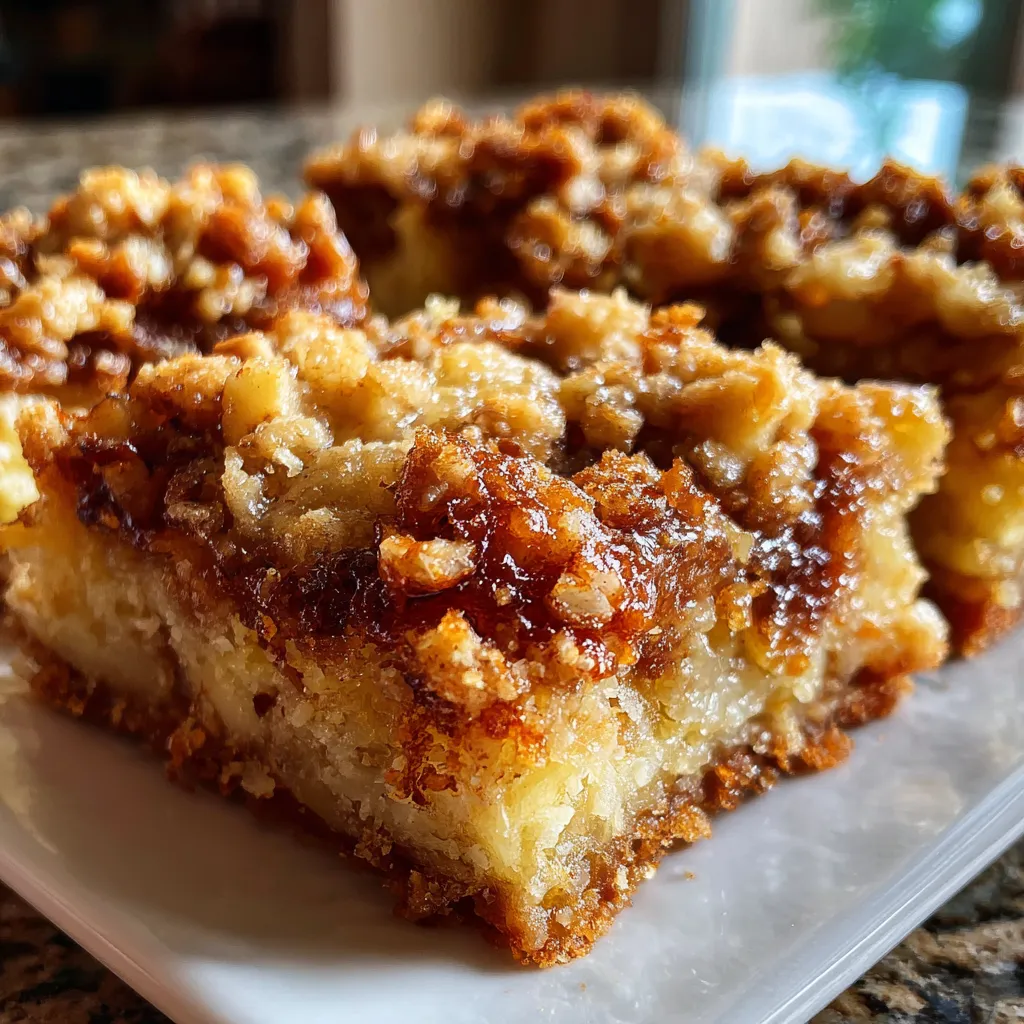
- Bake for about 40-45 minutes. The topping should be golden brown and the apples bubbly. You might want to check after 35 minutes—if it’s browning too fast, cover loosely with foil.
- Let cool for at least 20 minutes before slicing. This resting time helps the filling set so the bars hold together well when cut.
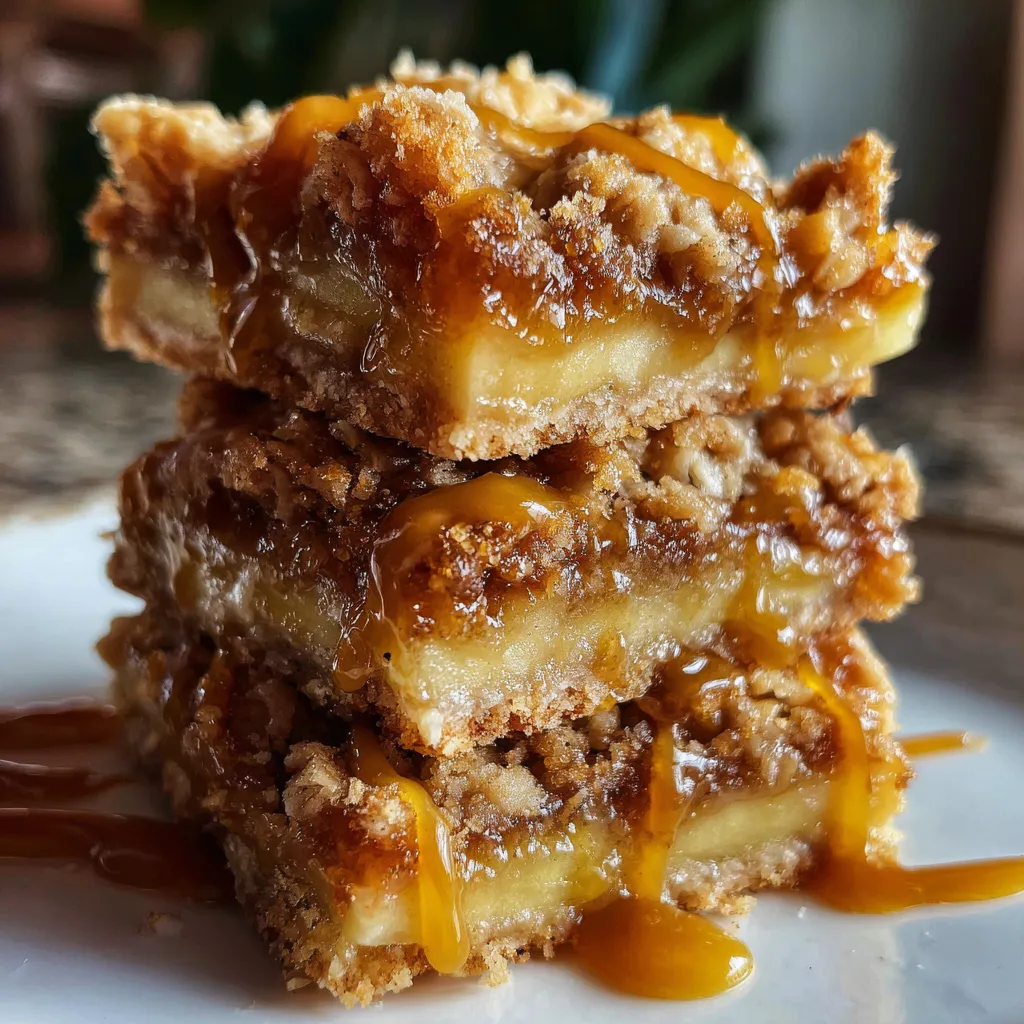
I usually slice them into squares about 2×2 inches. They keep well in an airtight container for a couple of days but taste best fresh and slightly warm.
Why You’ll Love This Delicious Apple Crisp Bars Recipe
- Easy to make with simple pantry ingredients and fresh apples.
- Perfect fall dessert with cozy cinnamon and nutmeg flavors.
- The crumbly topping gives a satisfying crunch with each bite.
- Great for sharing at potlucks, family dinners, or casual get-togethers.
- Gluten substitution friendly—try swapping flour for oat flour for a gluten-free option.
Tips for Success with Delicious Apple Crisp Bars
- Choose firm, tart apples like Granny Smith or Honeycrisp. They hold their shape and brighten the flavor.
- Keep your butter cold before cutting into the crumb mixture. This gives you that perfect texture.
- Don’t skip resting the bars after baking. It’s tempting to dive in early, but cooling helps the filling hold.
- If your apples are very juicy, toss them with a tablespoon of flour to soak up extra moisture and avoid soggy bars.
- Use a sharp knife when cutting bars to avoid crumbling the edges.
Storage and Reheating Instructions
You can store these delicious apple crisp bars in an airtight container at room temperature for up to two days. For longer storage, keep them in the fridge for up to five days—just bring them back to room temperature or warm briefly before serving.
To reheat, pop a bar in the microwave for 20-30 seconds or warm in an oven set to 300°F (150°C) for 10 minutes. This brings back that freshly baked feel and softens the apples nicely.
Nutrition Disclaimer
Nutritional values for this recipe vary depending on the ingredients you use and portion sizes. This recipe does not provide exact nutrition information. If you require detailed nutrition facts, it’s best to calculate them based on your specific brands and measurements.
Frequently Asked Questions About Delicious Apple Crisp Bars
Can I use frozen apples for this apple crisp bars recipe?
Using frozen apples can work, but you might end up with a wetter filling because frozen fruit releases more liquid as it thaws. If you do, thaw and drain them well, then toss with a bit of flour before baking. Fresh is always my preference for the best texture.
Is there a way to make these apple crisp bars vegan?
You can replace the butter with a vegan butter alternative and swap the egg for a flax egg (1 tablespoon ground flaxseed mixed with 3 tablespoons water, let it sit until gelled). These swaps work, but the texture will be slightly different—less rich but still tasty.
Can I add nuts or other toppings to these bars?
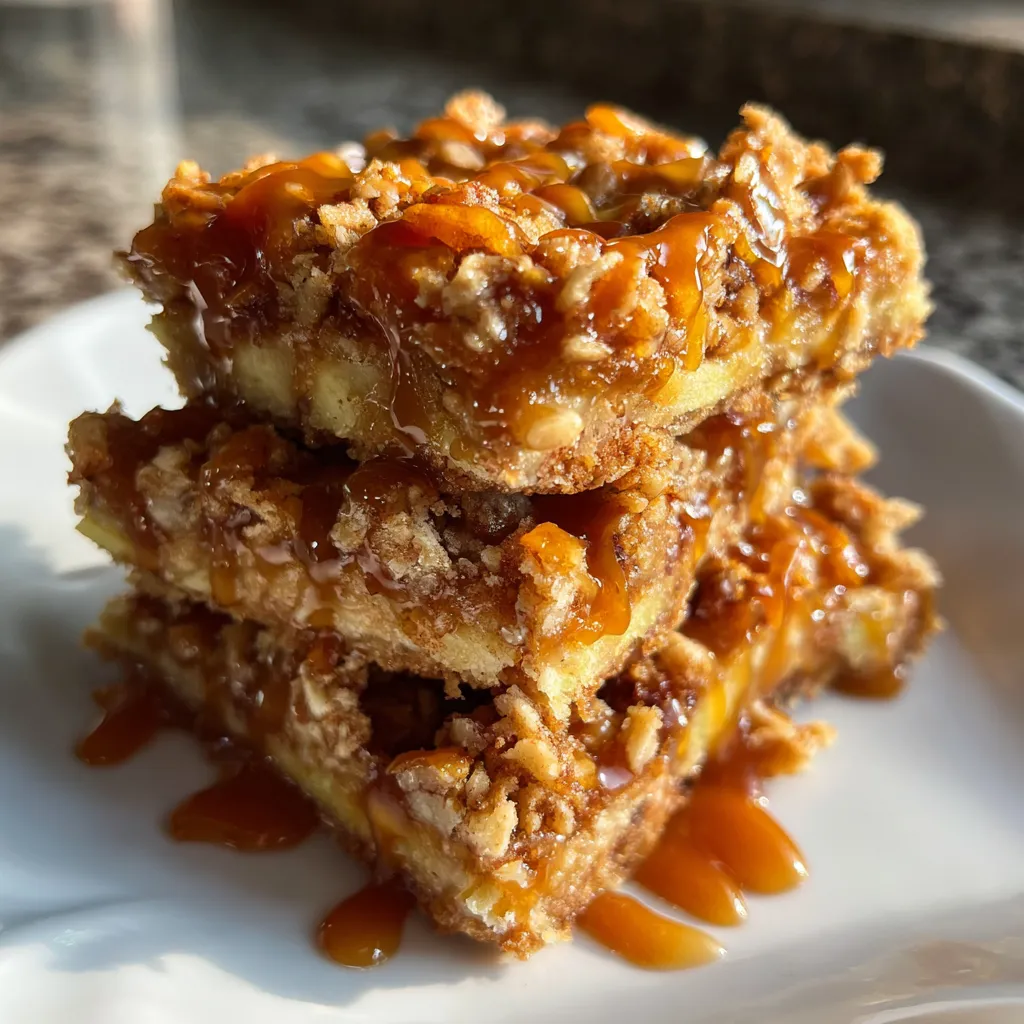
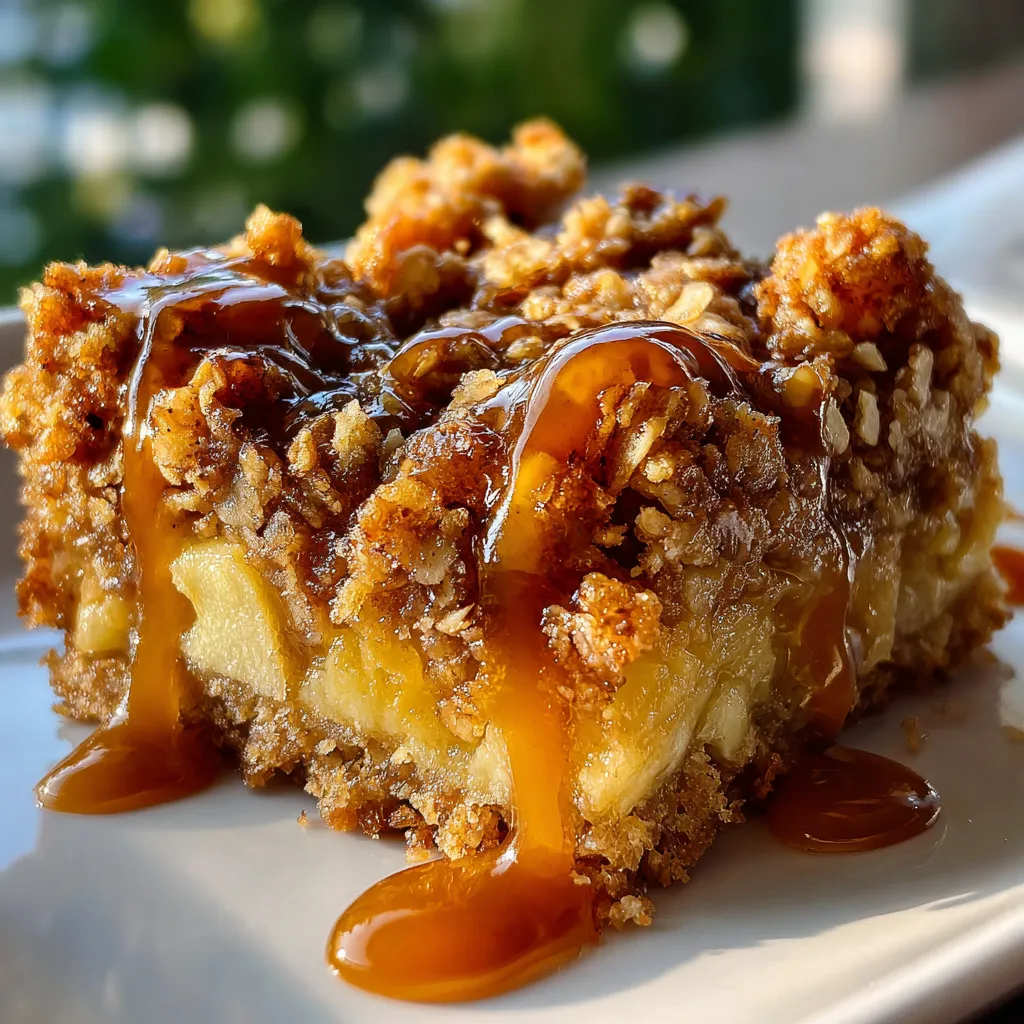
Absolutely! Chopped walnuts or pecans sprinkled over the crumb topping before baking add a great crunch and enhance the flavor with a nutty note. You could even add a drizzle of caramel sauce when serving for a special treat.
How thick should I dice the apples?
I usually go for about 1/2-inch dice. This size holds up well without turning mushy, while giving you juicy apple chunks in every bite. Smaller pieces might cook down too much and become pasty.
Can I double the recipe for a larger batch?
Yes, just double all ingredients and bake in a 9×13-inch pan. The baking time might need to increase by about 10-15 minutes, but watch for that golden topping and bubbly filling as signs it’s done.